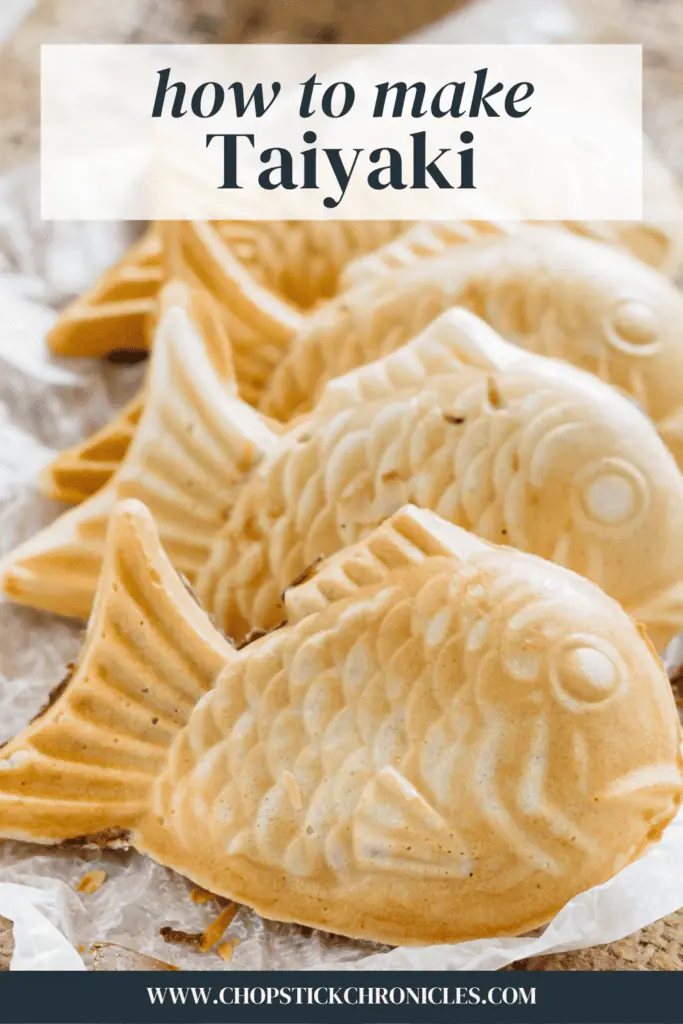
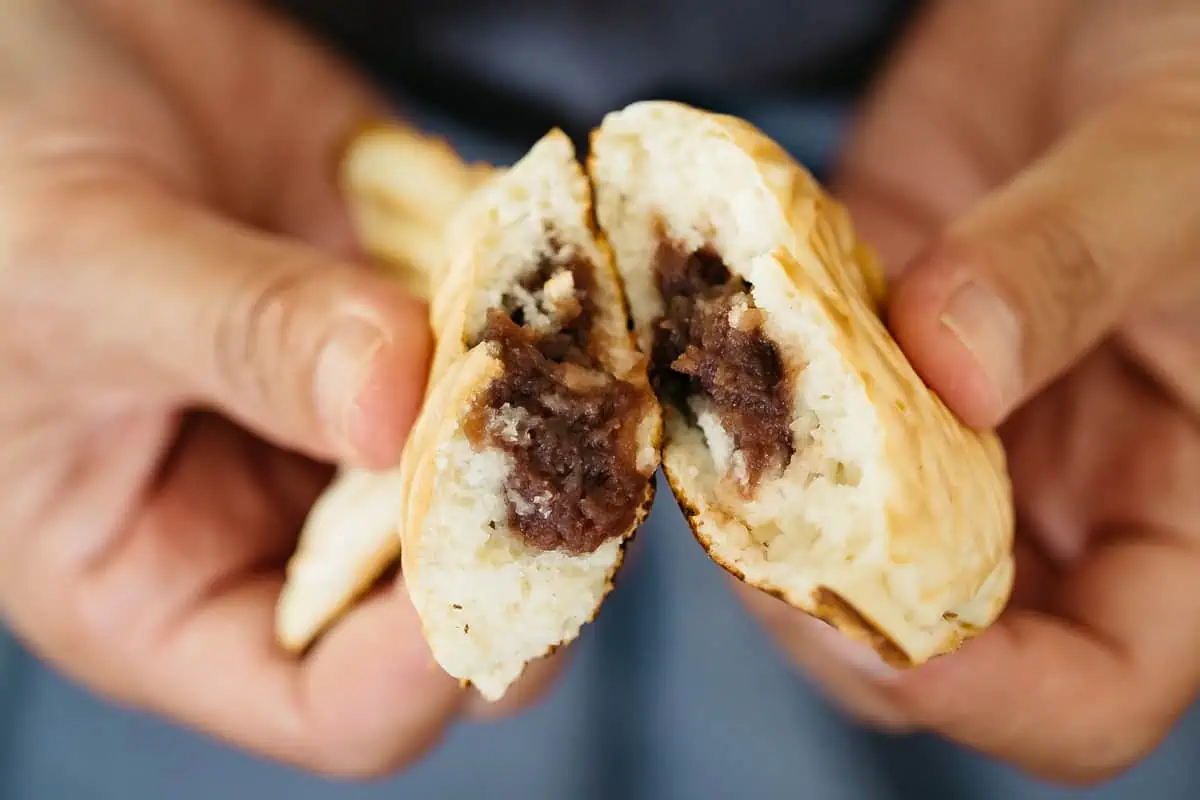
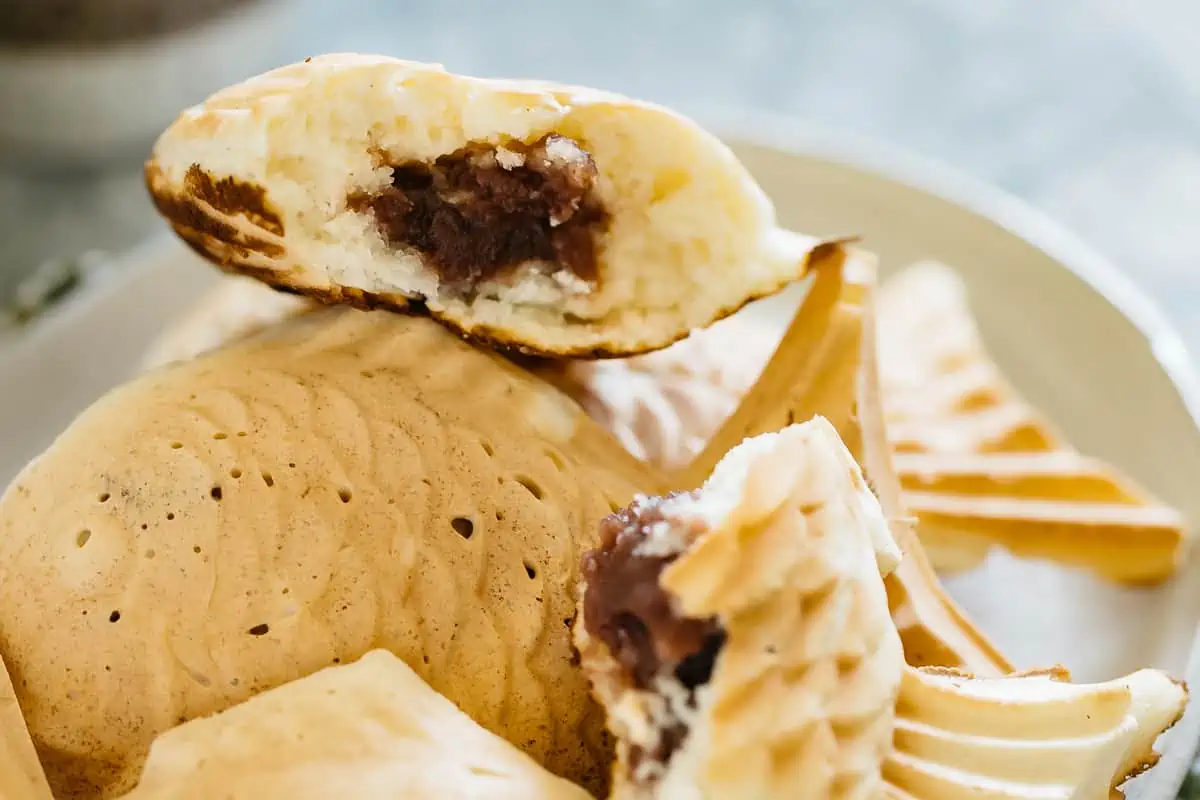
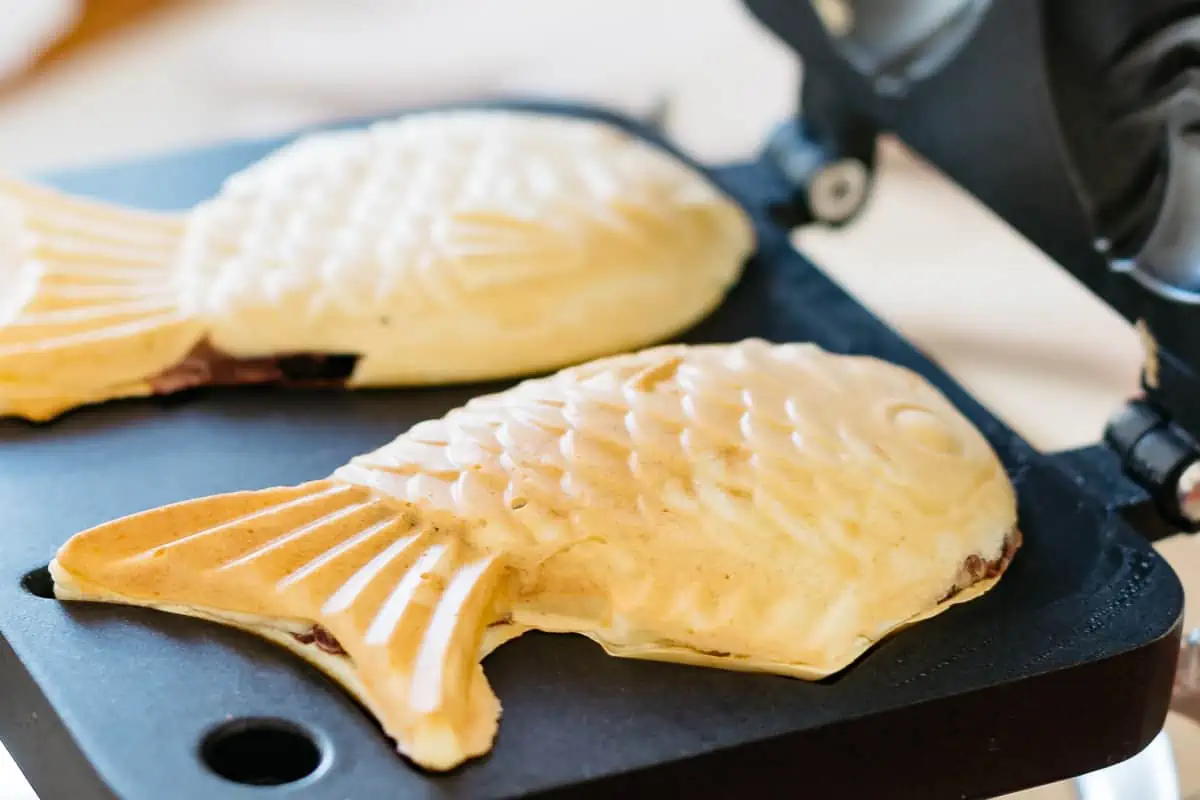
Taiyaki will not only captivate your eyes but will satisfy your taste buds and sweet cravings. This delightful Japanese fish-shaped waffle has a crispy exterior, soft and fluffy interior with deliciously sweet azuki bean paste stuffed inside. You’ll find this little snack sold by street vendors and dessert specialty stores in Japan but if you’re an adventurous dessert aficionado then this taiyaki recipe will guide you through creating these adorable sweet fish in the comfort of your own kitchen!
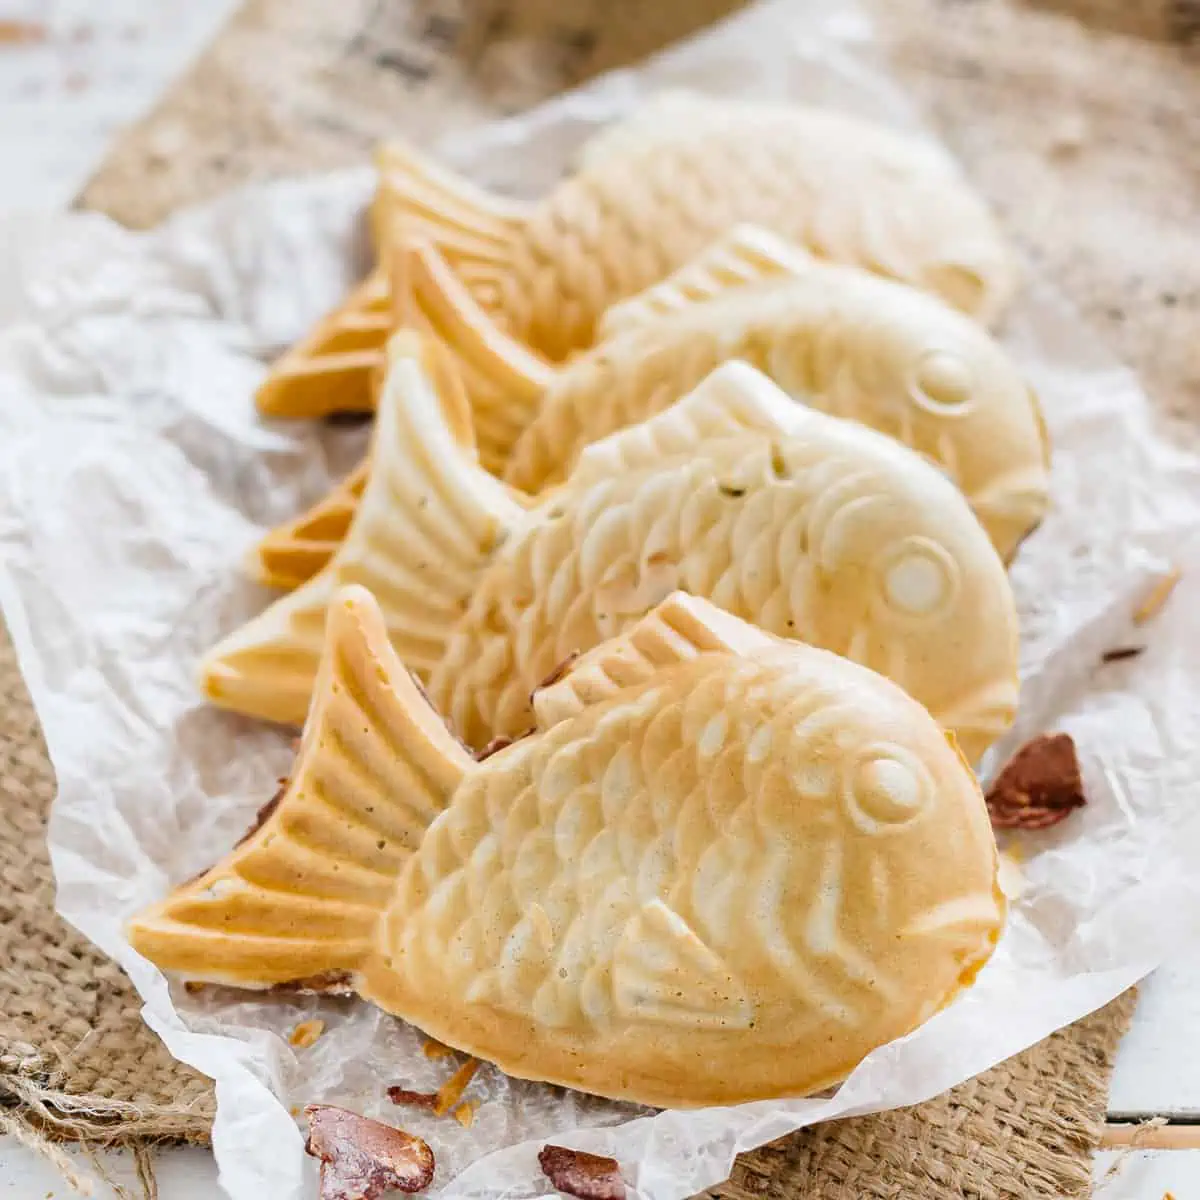
Table of contents
- What is Taiyaki?
- History of Taiyaki
- Ingredients Required for Taiyaki
- The Perfect Taiyaki Batter: Unveiling the Secrets Behind a Fluffy and Crispy Waffle
- Taiyaki Pan
- Step-by-Step Guide: How to Make Authentic Taiyaki at Home
- Getting Creative with Fillings: Traditional and Modern Twist for your Taiyaki Waffles
- Tips for Making Taiyaki
- FAQ
What is Taiyaki?
Taiyaki is a popular Japanese street food and sweet snack. Although the words ‘tai’ and ‘yaki’ literally translate to ‘grilled sea bream’ in Japanese, it refers to the shape and appearance only, not the ingredients. Taiyaki actually has nothing to do with fish and contains no type of fish at all. It is actually a delicious fish-shaped waffle traditionally stuffed with a sweet red bean filling. Nowadays many other types of taiyaki exist with different fillings and variations like custard, chocolate, matcha, cheese, and ones stuffed with ice cream.
History of Taiyaki
Taiyaki’s roots can be traced back to Japan in the early 1900s during the Meiji period. It was invented by a confectioner who sought to create a unique and portable snack that could be enjoyed on-the-go. Inspired by imagawayaki (a similar pancake-like treat), he decided to shape it like a fish – an auspicious symbol in Japanese culture representing good luck and abundance.
Ingredients Required for Taiyaki
If you’re interested in making this delicious dessert at home, here are the essential ingredients you’ll need:
Flour: The base of taiyaki batter is made with all-purpose flour or cake flour. This provides the necessary structure and consistency to the cake.
Sugar: To add sweetness to the batter, granulated sugar is used.
Baking powder: This leavening agent helps taiyaki achieve its fluffy and light texture by creating air pockets within the batter during cooking.
Eggs: Beaten eggs act as a binding agent for the batter while providing moisture and richness to the final product.
Milk (or water): Liquid ingredients like whole milk or water are added gradually to create a smooth batter consistency that can be easily poured into the taiyaki mold.
Flavor extracts (optional): Some recipes call for additional flavorings like vanilla extract or matcha powder to infuse unique tastes into your taiyaki cakes.
Filling of choice: Traditional taiyaki fillings include red bean paste (sweetened adzuki beans) or custard cream, but you can also get creative with other options such as Nutella, fruit preserves, chocolate ganache, or even savory fillings like cheese or sausage!
Cooking oil/spray: To prevent sticking and ensure easy removal from molds when cooking, a light coating of oil spray or butter might come in handy.

The Perfect Taiyaki Batter: Unveiling the Secrets Behind a Fluffy and Crispy Waffle
The key to achieving the perfect taiyaki lies in its batter – fluffy on the inside and crispy on the outside. Here are the secrets behind creating the perfect taiyaki batter:
1. Choosing the right flour: When it comes to making taiyaki, using the right type of flour is crucial. Opt for cake flour or a combination of cake flour and all-purpose flour for best results. Cake flour has a lower protein content compared to all-purpose flour, resulting in a lighter and fluffier texture.
2. Leavening agents: To achieve that light and airy consistency in your taiyaki batter, incorporating leavening agents like baking powder or baking soda is essential. These ingredients help create air bubbles within the batter, leading to a fluffy interior.
3. Liquid ingredients: A balance between wet and dry ingredients is necessary for creating a smooth yet thick batter. Use whole milk as your primary liquid ingredient since it adds richness and enhances flavor.
4. Sweetness factor: Taiyaki is filled with something sweet but adjusting the sweetness level in the batter itself can make a significant difference too! Adding sugar or honey helps caramelize the exterior while imparting subtle sweetness throughout.
5. Resting time: Allowing your taiyaki batter to rest before using it is an important step. Allowing it to rest for at least 30 minutes allows gluten strands formed during mixing to relax, resulting in a more tender texture.
Taiyaki Pan
If you want to recreate this tasty treat at home, having a taiyaki pan is essential. So, what is a taiyaki pan? It is a special cooking tool that consists of two fish-shaped molds attached to a handle. Made from cast iron or aluminum, these pans distribute heat evenly and help achieve that perfect golden-brown crust on the outside while keeping the inside soft and fluffy. Some Japanese or Asian grocers may have them in stock, or you can get it from online stores such as Amazon.
Step-by-Step Guide: How to Make Authentic Taiyaki at Home
- Prepare the Batter and filling of your choice.
- Heat the Taiyaki Pan. Place your taiyaki pan on medium heat and let it heat up for a few minutes. You may need to lightly grease each side with some oil or butter if your pan is not non-stick.
- Fill the Molds. Once the pan is heated up, pour about two tablespoons of batter into each mold. Make sure not to overfill them as you’ll need space for the filling later on.
- Add Your Filling
- Seal and Cook
Getting Creative with Fillings: Traditional and Modern Twist for your Taiyaki Waffles
Get creative and explore some traditional and modern twists that will take your Taiyaki game to the next level. Whether you’re a fan of sweet or savory fillings, we’ve got you covered with these mouthwatering ideas.
- Classic Red Bean Paste: taiyaki is traditionally filled with sweet red bean paste (anko). This sweet, velvety paste made from adzuki beans is a staple in Wagashi Japanese sweets. Its subtle sweetness pairs perfectly with the crispy exterior of Taiyaki waffles.
- Matcha: If you’re a matcha lover, try infusing it into the batter or make a matcha cream filling.
- Custard: Indulge your taste buds with a rich and creamy custard filling. The smoothness of the custard adds a luxurious touch to the Taiyaki waffle, making it an irresistible treat for any dessert lover.
- Nutella: For all chocolate enthusiasts out there, Nutella is an absolute must-try filling for your Taiyaki waffles. Its creamy hazelnut-chocolate goodness oozing out from within will make every bite heavenly.
- Fruit: Waffles with fruit are a winning combination. Combine sliced strawberries, blueberries, and bananas inside your Taiyaki for a burst of refreshing flavors and a fruity bliss.
- Ice Cream: Take your Taiyaki experience to new heights by using the taiyaki as ice cream cones! Choose your favourite ice cream flavor or go for a classic combo like vanilla, matcha, or black sesame to create an indulgent and fun dessert.
- Savoury options: Make your taiyaki savoury by filling it up with melted mozzarella cheese, ham, hotdogs, or salami!
Tips for Making Taiyaki
- To achieve the ideal crispy exterior, make sure to coat your taiyaki molds with a thin layer of oil or butter before pouring in the batter. This ensures that the waffle doesn’t stick and achieves that perfect golden brown color when cooked.
- Maintaining consistent heat is crucial for taiyaki cooking. Use medium-low heat to prevent burning while cooking.
FAQ
A : Let it cool completely before wrapping it tightly in plastic wrap or placing it in an airtight container or a ziplock bag. Store it promptly in the freezer for up to blah months or in the fridge for blah days.
A : I recommend thawing naturally at room temperature, or you can reheat in the microwave. If you use the microwave, wrap it with plastic wrap and microwave for about 30 seconds on 500w.

Taiyaki たい焼き
Equipment
Ingredients
- 240 g sweet red bean paste (An)
Taiyaki Batter
- 1 cup plain flour
- 1 ½ tbs sugar
- 2 tsp baking powder
- ⅓ cup water
- ⅓ cup milk
- 1 large egg
Instructions
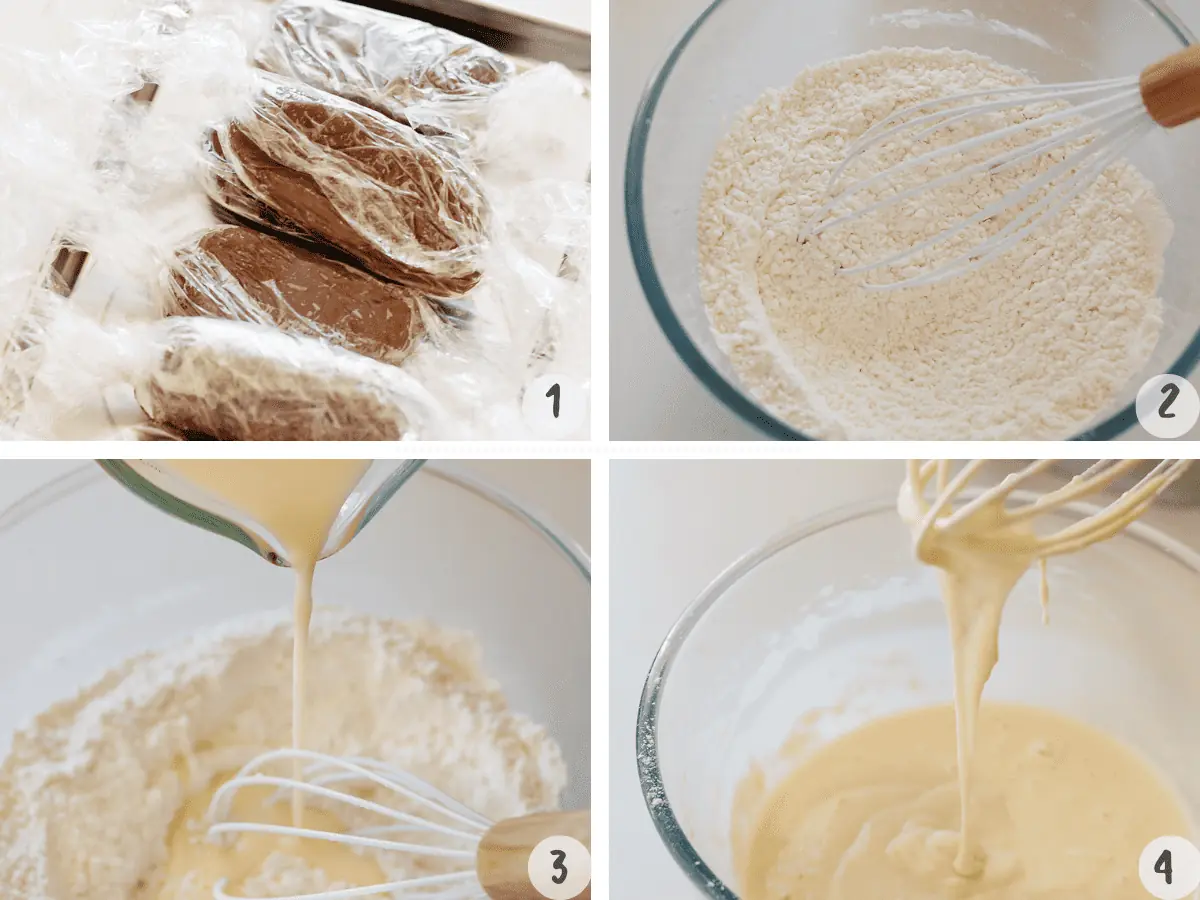
- Divide the An to 6 x 40g each and shape them into a 10cm long cylinder with cling wrap and set aside.
- Sift the flour and baking powder in a large bowl and make a well in the centre.
- In another bowl, beat the egg lightly before adding milk and water. Mix everything thoroughly until smooth.
- Pour it into the well of flour.
- Combine them but try not to overmix.
- Place some plastic wrap over the bowl and refrigerate for about 30 minutes to rest the batter.
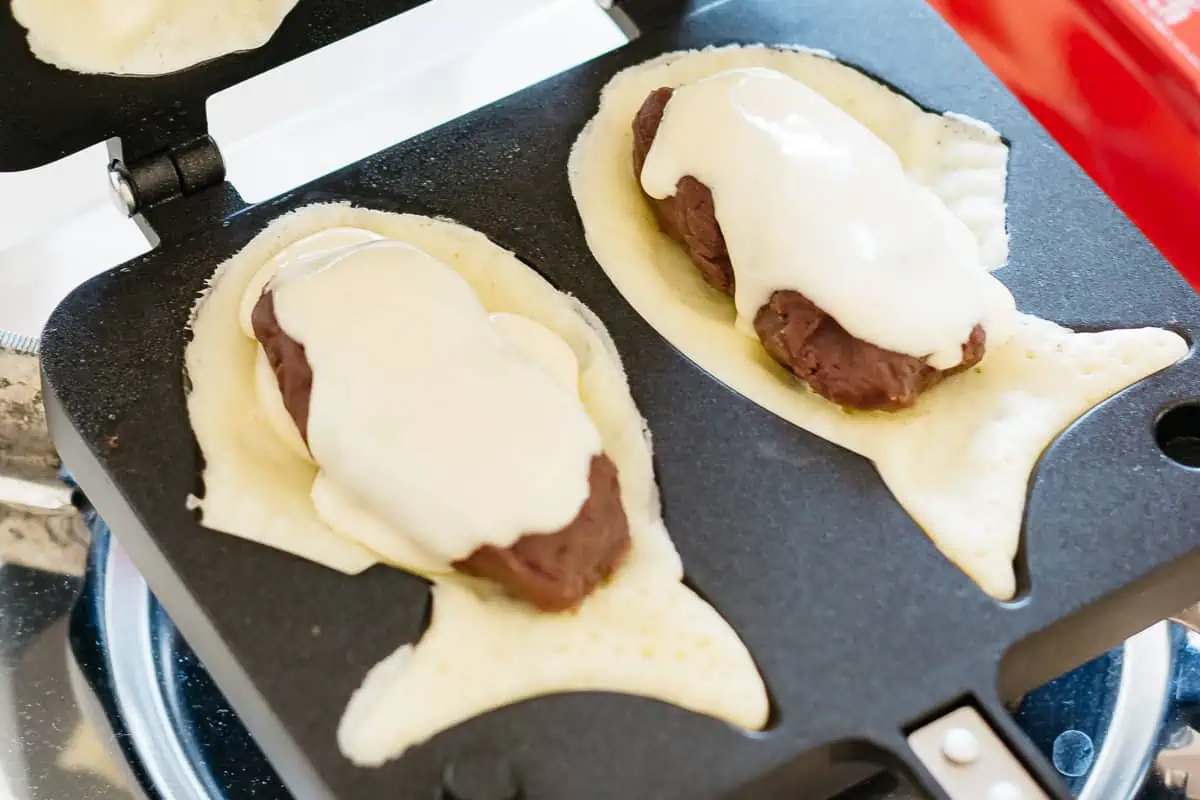
- Heat the taiyaki pan over low-medium heat and pour about 2 tbs batter to the bottom side of the pan. Pour the batter from the top edge so that the batter will dribble down to the bottom of the pan.
- Place a roll of sweet red bean paste in the centre and pour more batter (about 2 tbs) over the paste.
- Press the pan and cook each side for 3-5 minutes over low heat.
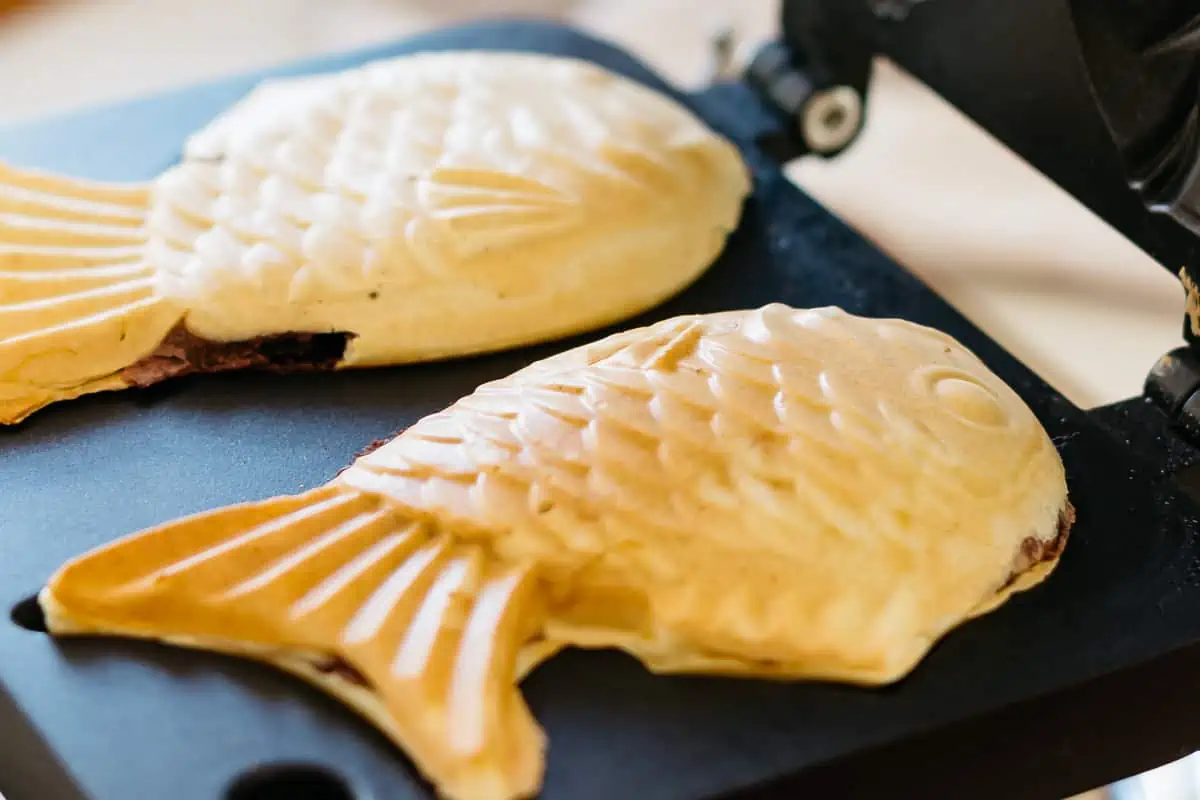
- When both sides have cooked, remove the Taiyaki carefully.
- Repeat the above process for the remaining batter and Anko.


I absolutely love taiyaki! The combination of the crispy exterior and the sweet filling is just perfect. Your post has me craving them right now! Thanks for sharing the recipe and tips on how to make them at home. Can’t wait to try it out!
I absolutely love the idea of Taiyaki! The combination of a crispy exterior with sweet fillings sounds divine, and I can’t wait to try making them at home. Your step-by-step instructions are super helpful, and I appreciate the tips on different fillings. Thank you for sharing such a delicious piece of Japanese culture!
Thank you 😀
I absolutely love taiyaki! The crispy outer layer and the sweet filling make it such a delightful treat. Your recipe and tips are fantastic—I can’t wait to try making them at home! Thank you for sharing the history behind this delicious snack too!
You are welcome 😀 and thank you for your lovely comment<3
50 cups baking powder 😂😂😂
Hi Sam, what conversion are you trying?
Hi Shihoko. There is conversion error in the website, when clicked from Metric to US Customary. “2tsp baking power” >>> “50cups of baking power”.
I have been using your recipe (metric) with chocolate fillings for my kids , and they absolutely love it! Thank you for the recipe ♥♥♥
Hi Jacqueline, thank you so much for letting me know, I will fix it.. Awwww, chocolate fillings sounds yummy!