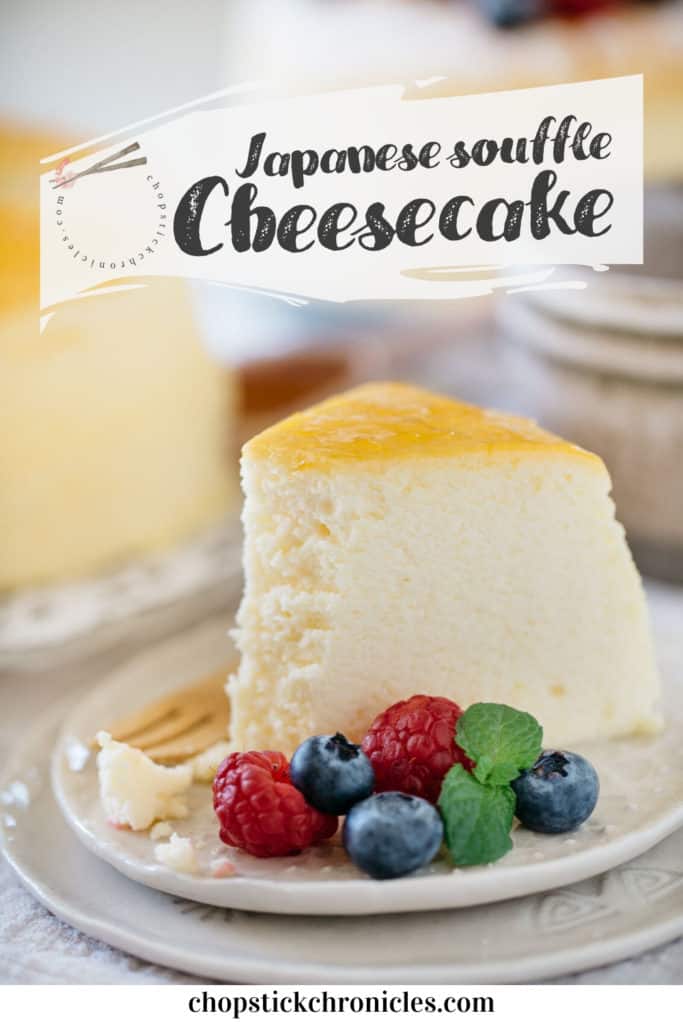
This jiggly Japanese cotton cheesecake has garnered popularity around the world because of its fluffy soft texture and lovely flavour. And the good news is that you can make it at home yourself! A few simple ingredients and a little bit of time are all you need to enjoy this soft and jiggly Japanese cheesecake at home.
What is Japanese Cheesecake?
Yes, it is called “Japanese” cheesecake. It is also known as Japanese cotton cheesecake or Japanese soufflé cheesecake. Because it’s the cotton-like fluffy texture is distinguishably different from the rest of the cheesecakes. Also it does not require oriental ingredients. You just need to master the baking technique to make this jiggly and fluffy cheesecake.
Ingredients
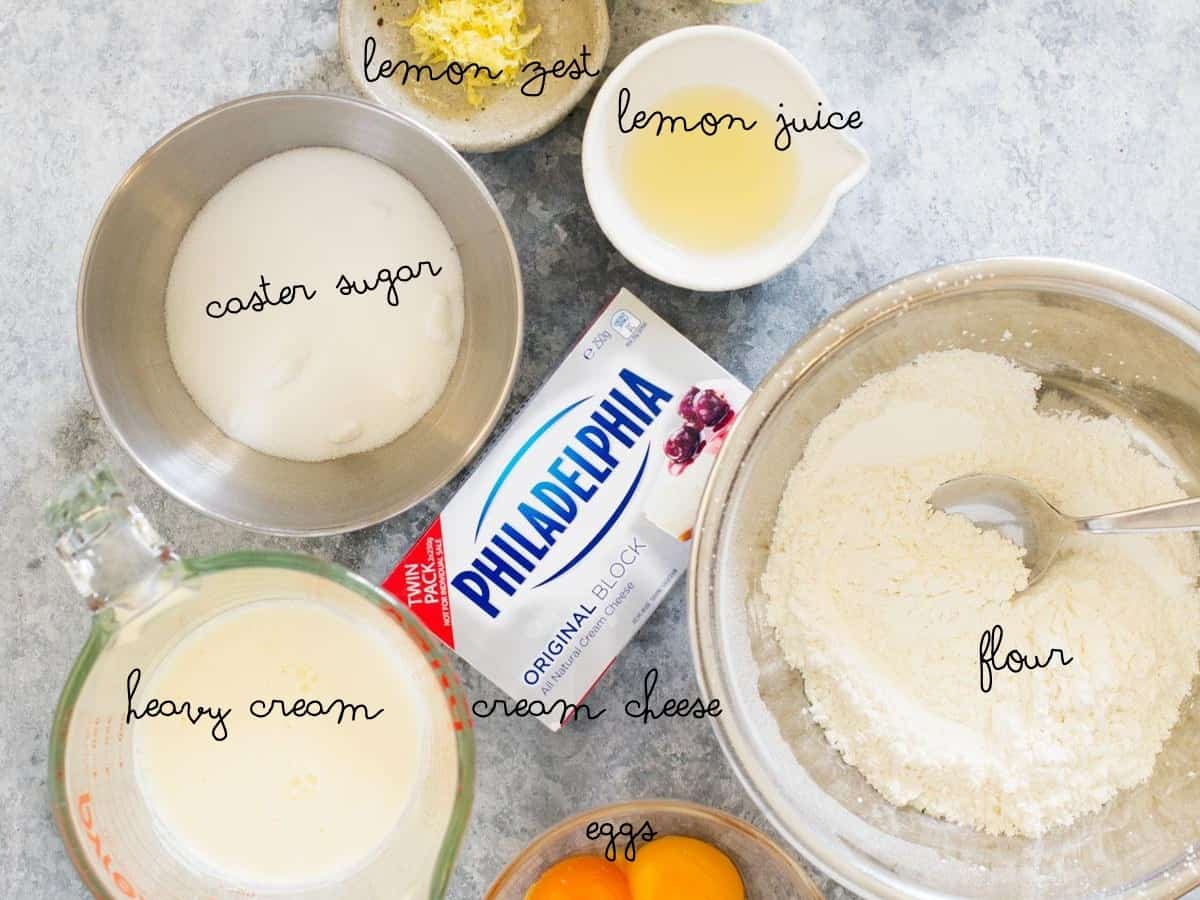
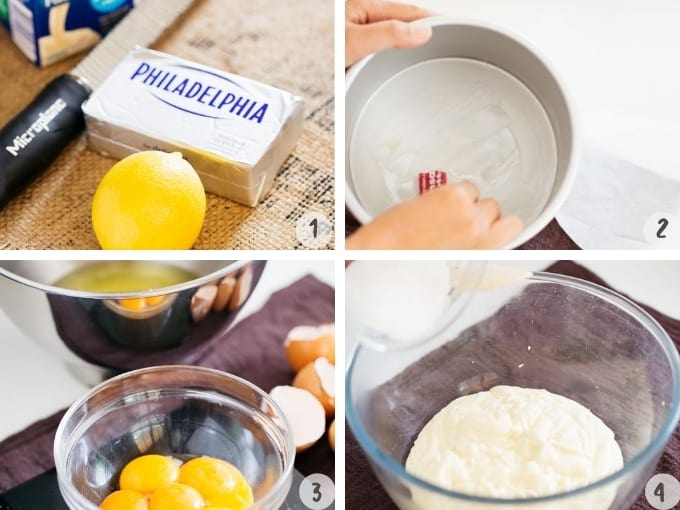
- Cream cheese – not all cream cheese are the same. I recommend using the Philadelphia brand cream cheese.
- 6 eggs – large size (1.8oz/50g each) Although using many eggs, Japanese cheesecake does not have an eggy taste.
- Cake flour + Corn starch – use protein percentage around 9% and corn starch makes the Japanese cheesecake fluffy!
- Lemon – juice and zest. I used an organic non-waxed lemon.
- Apricot Jam – this can be optional but it makes the cheesecake glossy and it also enhances the sweet tangy taste of the Japanese cotton cheesecake.
How to Bake a Japanese cheesecake?
The following is the brief process of baking a Japanese soufflé cheesecake.
- Let the cream cheese warm to room temperature. Leave the cream cheese out of the fridge at least 1 hour prior to start making Japanese cheesecake. (photo 1)
- Preheat the oven to 338°F (170°C)
- Prepare a cake pan and set it aside. Prepare a 7 inch (17cm) diameter cake pan by greasing well with unsalted butter and line the bottom of the cake pan with a round cut parchment paper.
- Sift cake flour and cornstarch
- Make the cream cheese batter. Whisk cream cheese and add heavy cream and milk. Then add sugar to combine. Add egg yolks and mix one yolk at a time.
- Make soft peak meringue and fold it into the cream cheese batter at three different times.
- Bake it in a water bath. Reduce the baking temperature to 320°F (160°C) and gradually reduce the temperature as stated in the recipe below.
- Glaze the cheesecake top with apricot jam. Glaze the top of the cake with apricot jam diluted with brandy.
Tips to Bake Jiggly Cheesecake
- Carefully separate the egg yolks and egg whites and refrigerate the egg white just before whipping. The equipment to make the meringue must be dry. Any trace of oil and water will impact on the quality of the meringue. Whipping up cold egg whites will make fine meringue and the meringue needs to have soft peaks for Japanese soufflé cheesecake.
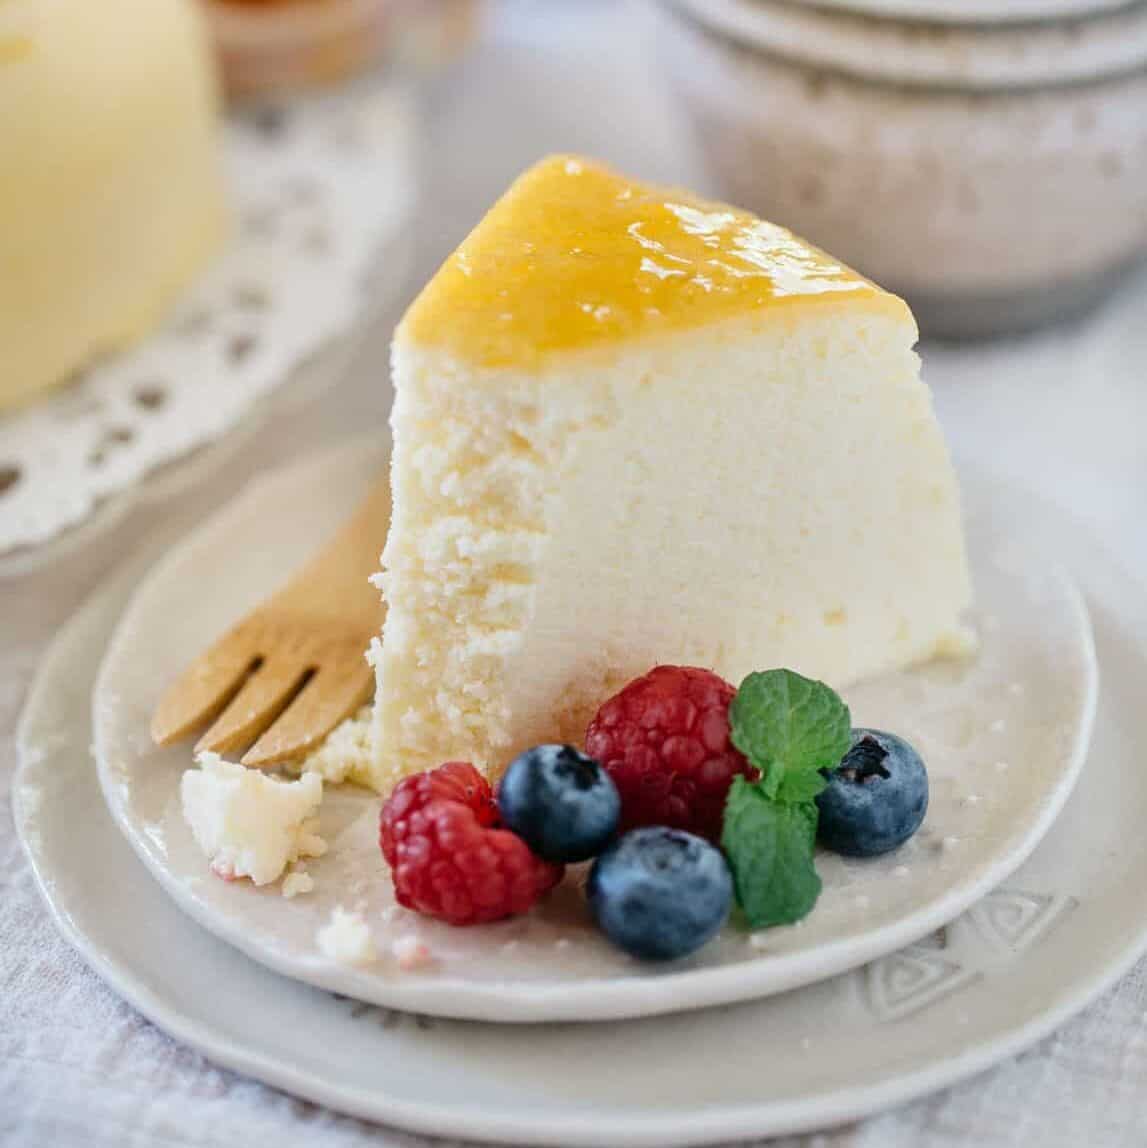
- You may have seen these jiggly and fluffy Japanese soufflé cheesecakes before. They have become quite popular and I often see videos of them on Instagram. Japanese cheesecakes are jiggly and fluffy when they are just baked and still warm but they are best served rested in the fridge overnight. They are moist yet airy and soft and don’t have an eggy taste.
Troubleshooting Your Japanese Cheesecake
Two common failures when baking this soufflé cheesecake:
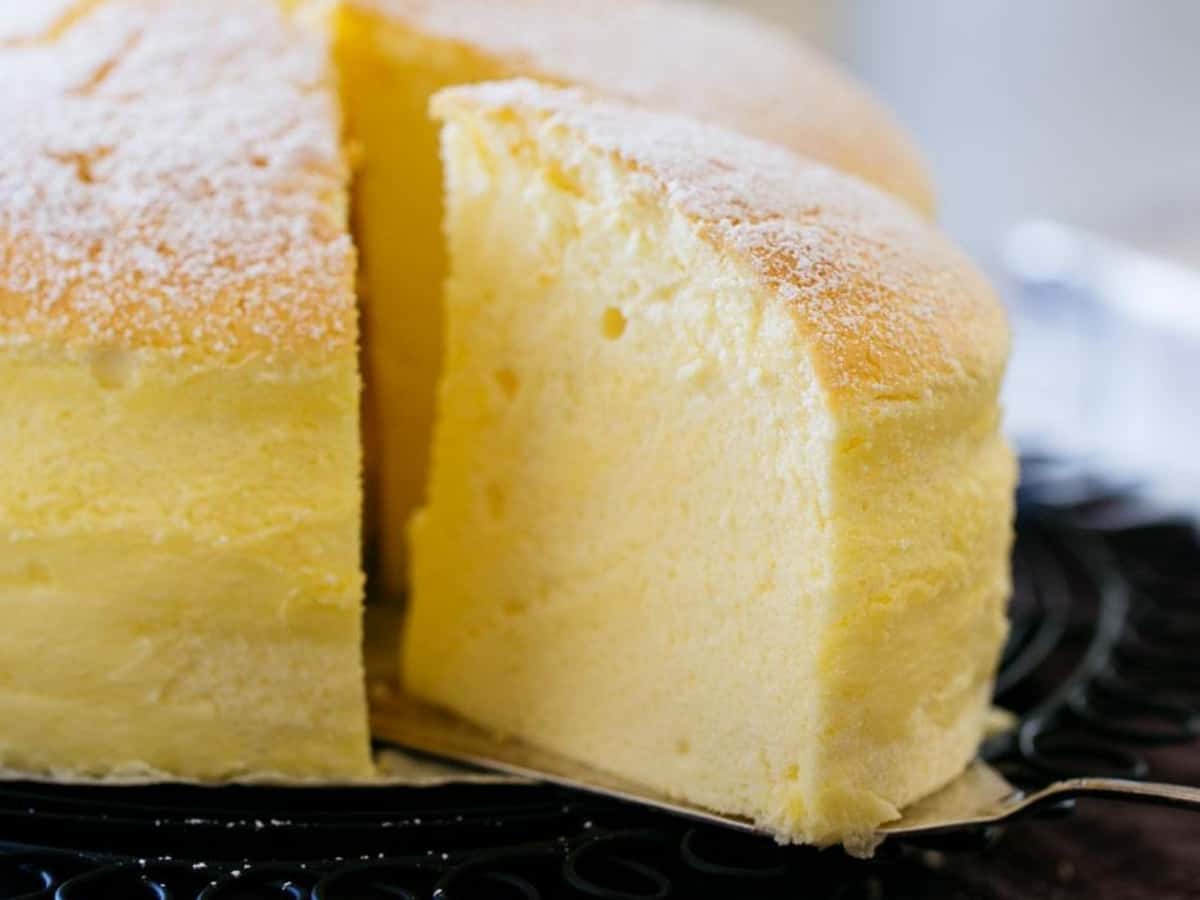
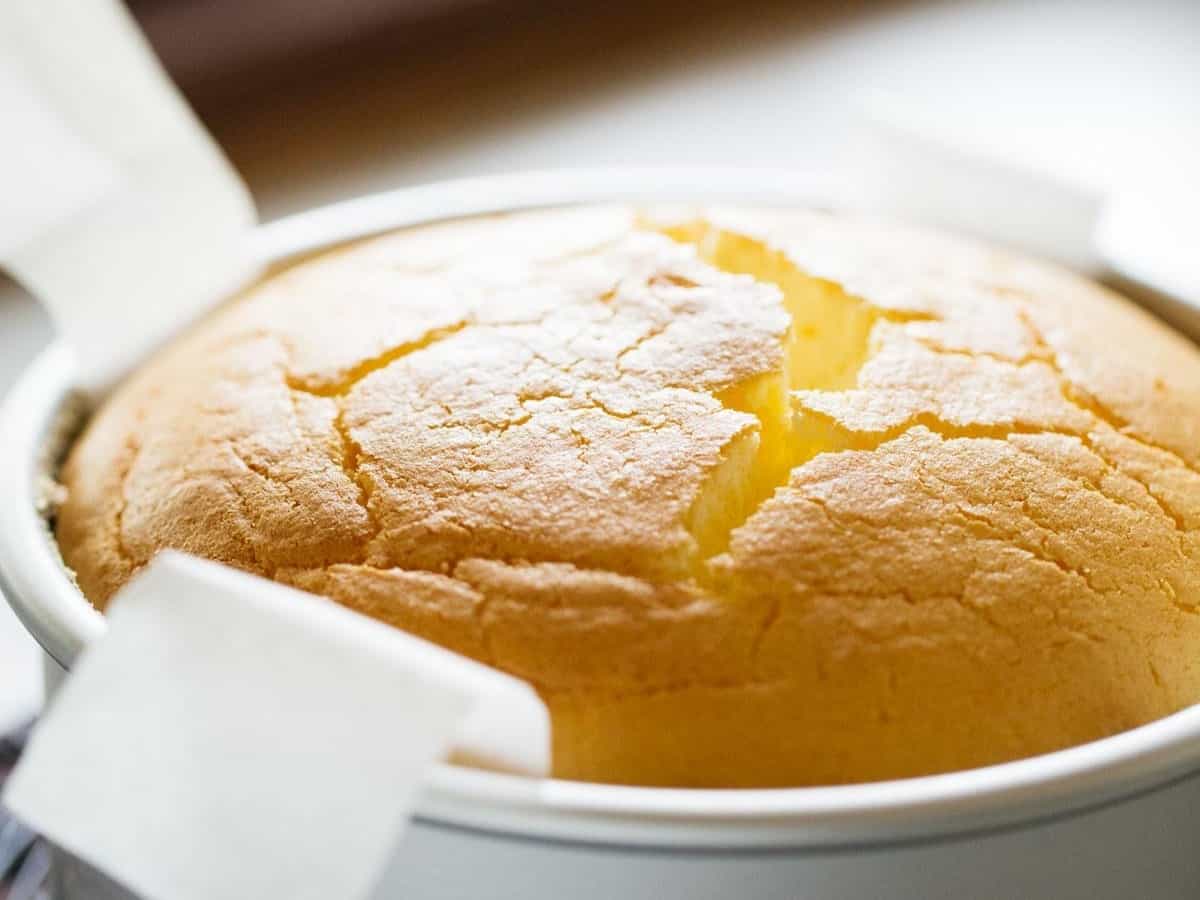
- It does not rise well.
- The top of the cheesecake cracks open while it is being baked.
Both of the mistakes can be avoided if you are careful with the meringue and you know how to operate your oven well. Read below to find solutions.
A: Prepare the baking tin and grease it well. I have tried this with baking paper and without baking paper and I have discovered that using lining paper is the best option. This is because if it is not greased well when the cheesecake batter is about to rise, the batter will be pulled by the lining paper if it sticks to it and it causes the top of the cake to crack. Also, if the baking temperature is too high the cake can crack. Every oven is different, so knowing your oven is important.
A: The temperature for baking Japanese soufflé cheesecake is important. If the baking temperature is too low, it will not rise well. My oven has just been installed last year after the previous oven broke. Since then I have had to bake cheesecakes a few times to test to see which temperature and timing work best.
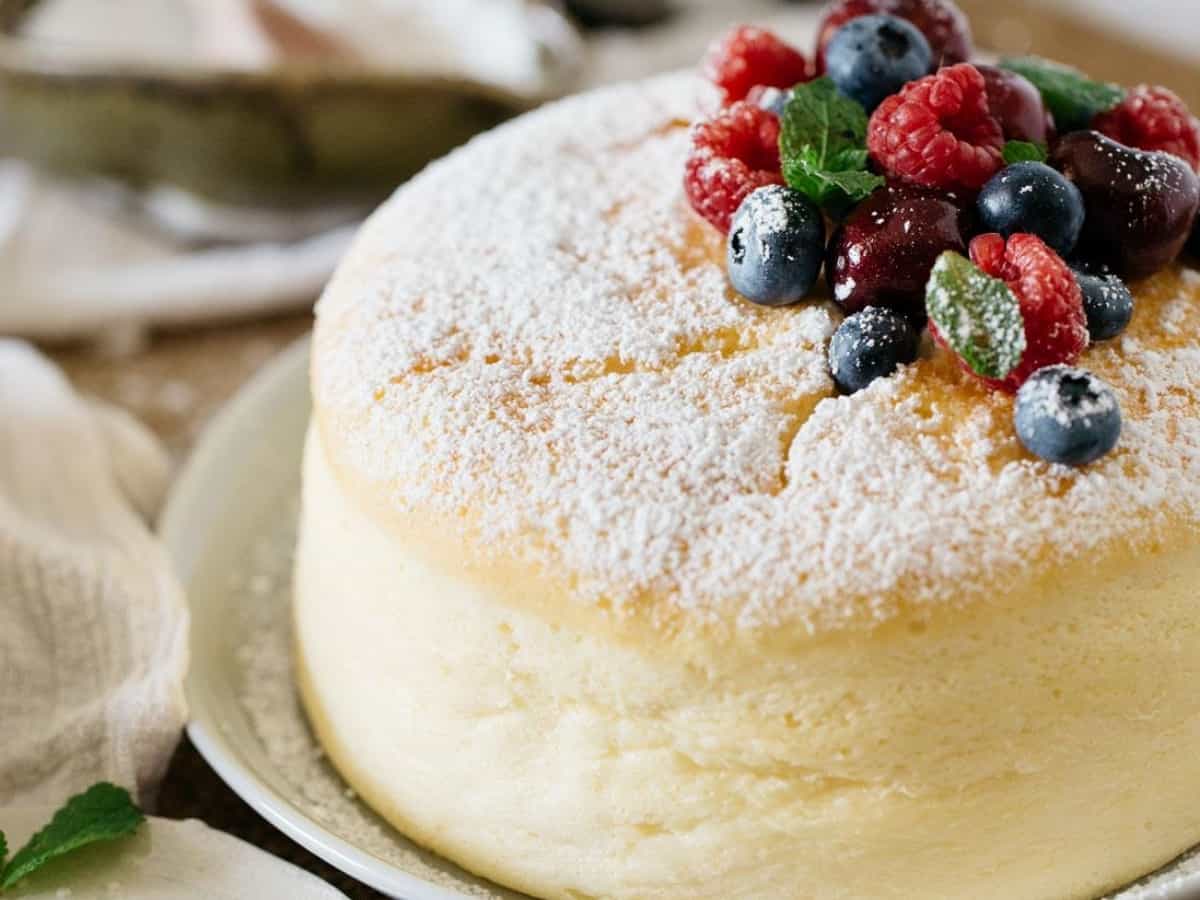
A: Nonetheless, Japanese cheesecake is delicious even if it’s cracked in my humble opinion. They still taste great but just are not perfect looking. Japanese cheesecake deflates a little anyway and will close up the crack. You can hide the crack with fruits and other toppings like the photo below suggests.
How to Store?
They will keep for a few days in the fridge. You can also freeze them. Slice and individually wrap with cling wrap. Keep them in an airtight freezer container. They will keep for a month. Defrost naturally to eat.
Checkout other Fluffy Japanese Baking
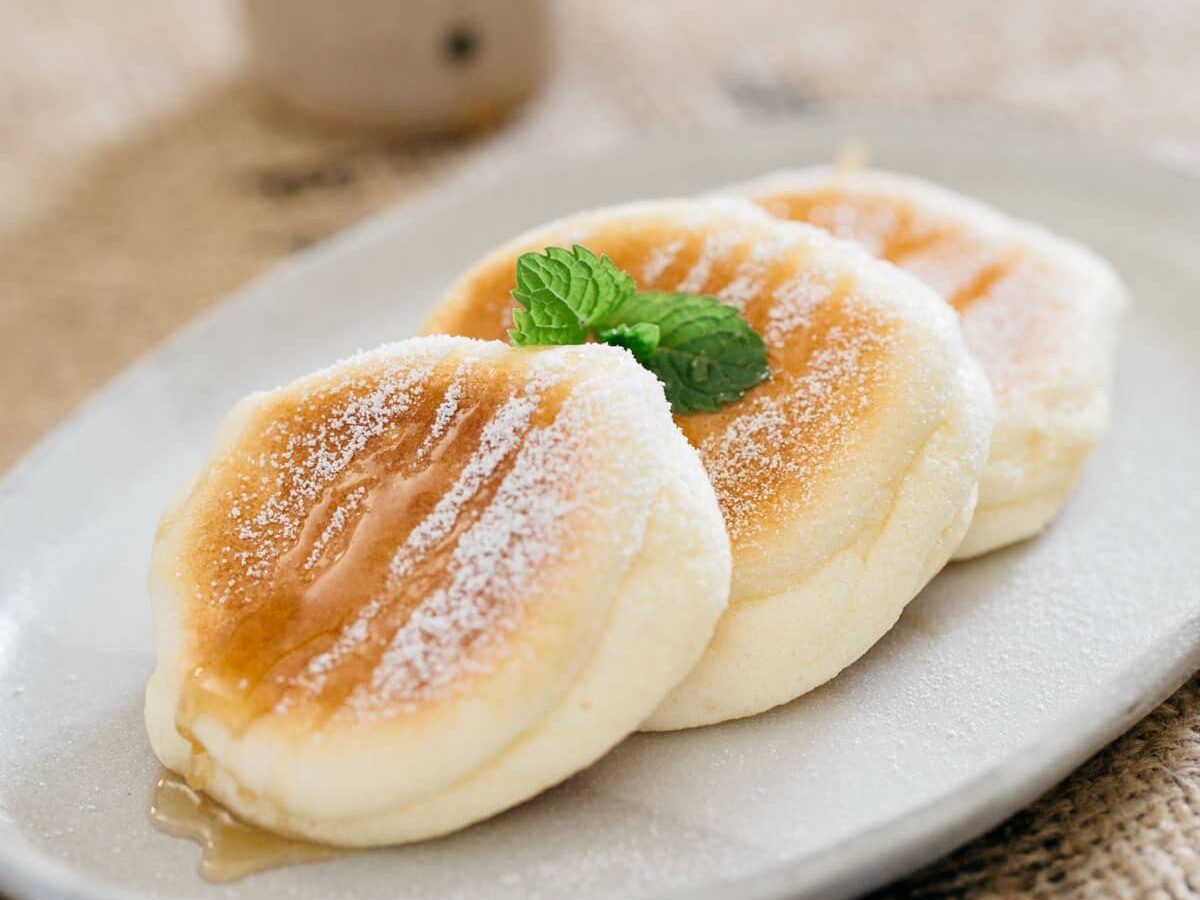
- Fluffy Japanese Pancakes
- Fluffy Japanese Bread “Shokupan”
- Japanese Hot Dog Buns “Koppepan”
- Gluten Free Fluffy Pancakes
- Japanese Souffle Pancakes
Stay Connected
If you liked my recipe for Japanese Souffle Cheesecake, please rate it and leave a comment below. Also, don’t forget to follow me on Youtube, Pinterest, Facebook and Instagram to keep up to date with all the latest happenings on Chopstick Chronicles. Don’t forget to use the hashtag #ChopstickChronicles so I see your wonderful creations!

Japanese Cheesecake チーズケーキ
Ingredients
- 7oz/200g Philadelphia cream cheese This is the brand I used to use in Japan and it is readily available in Supermarkets in Australia and other places worldwide
- 4 egg yolks I usually buy free range large eggs from a local farmer’s market and a whole egg weighs about 50 g. Yolks all together weighed approximately 65g
- 0.7oz/20g caster sugar ( 1 tbsp + 1 tsp)
- 3.4floz/100ml heavy cream (Whipping cream) (1/3 cup + 1.5 tbsp)
- 3.4floz/100ml milk (1/3 cup + 1.5 tbsp)
- 1 tbsp lemon juice
- 2 tsp 1/2 lemon lemon zest (I finally bought microplanebrand zester. It only zests the yellow part of the skin. Try not to use the white part as it gives an astringent taste)
- 1.4oz/40g plain flour (1/3 cup)
- 0.35oz/10g corn starch (4 tsp)
Meringue
- 4 egg white from the 4 eggs’ yolks separated from. Egg white all together weighed approximately 120g
- ¼ tsp cream of tartar
- 2.1oz/60g caster sugar (4 tbsp)
Apricot glaze
- 1oz/30g apricot jam (2 tbsp)
- 1 tbsp water or Brandie
Instructions
- Leave the cream cheese at room temperature to soften. *1
- Prepare the 7 inch (17cm) in diameter and 3 inch (7.5cm) tall round cake pan. Spread unsalted butter thinly and line the bottom with baking paper and set aside in fridge. *2
- Sift the flour and corn starch and set aside
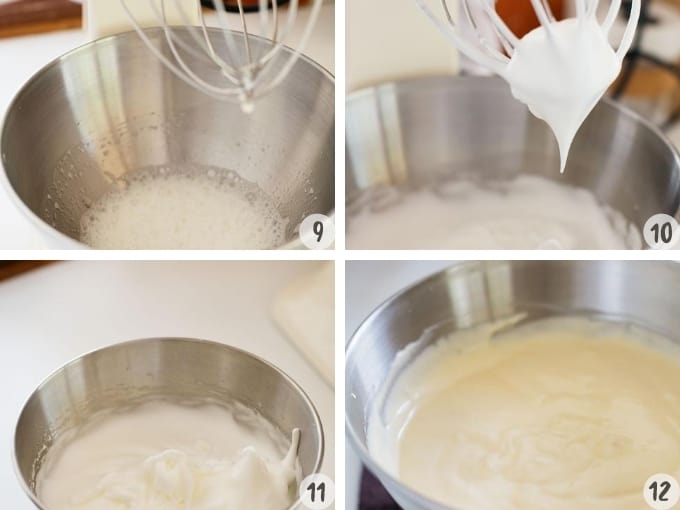
- Separate eggs to yolks and whites. Refrigerate the egg whites in a bowl. *3
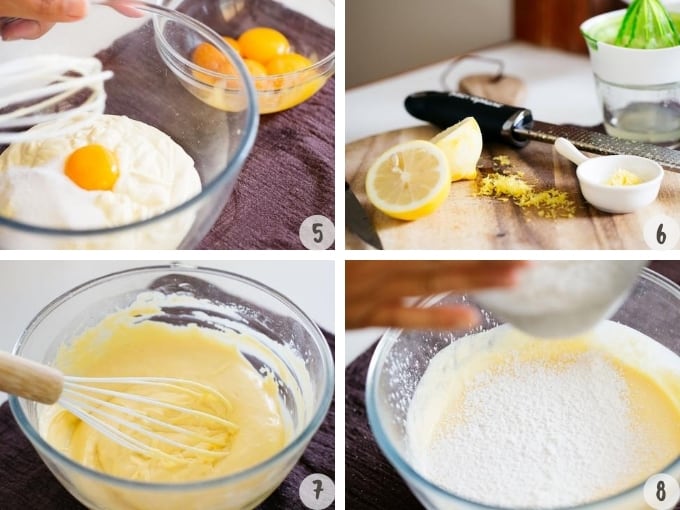
- Stir the softened cream cheese with a wooden spatula to make it a smooth cream texture.
- Combine milk and cream. Add the milk and cream mixture a little bit at a time and mix well each time.
- Add sugar and add egg yolks one at a time and mix well each time.
- Sieve the cream cheese mixture into a large mixing bowl to avoid any lumpy bits.
- Add lemon juice and lemon zest to the mixture and mix well. *4
- Sift the flour and cornstarch into the egg yolk and cream cheese mixture and combine them.
- Start to preheat the oven to 338°F(170°C) degrees Celsius. * 5
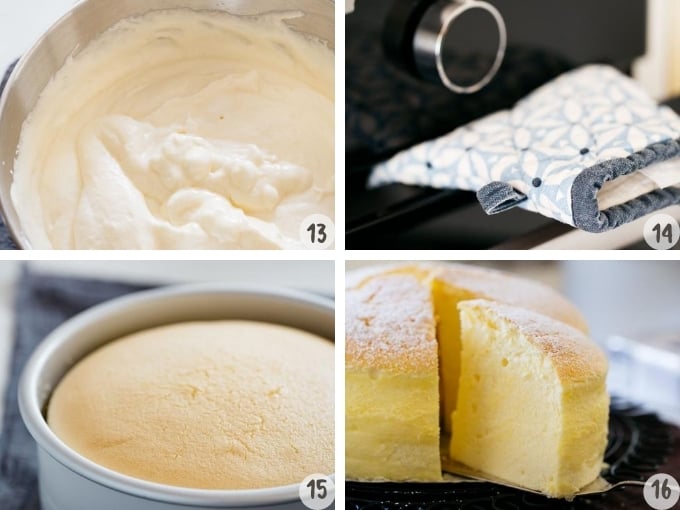
- Make the meringue. Set the stand mixer and whip the egg whites till large bubbles form. Add the cream of tartar and whip.
- Add 1/3 of the caster sugar in 3 to 4 different times and whip the egg whites each time the sugar is added. Whip till soft peaks form (when the stand mixer’s attachment is lifted, the white egg peak bends a little bit).
- Remove the mixing bowl from the stand and hand whip to stabilize the meringue form.
- Fold 1/3 of meringue into the cream cheese mixture with a whisk carefully trying not to break the fine meringue form. Repeat the same one more time.
- This time, add the cream cheese mixture into the meringue bowl and fold all together carefully with a spatula.
- Pour the mixture into a prepared round cake tin. Fill the tin about 0.6 inch (1.5 cm) down the rim of the tin, tap a couple times on a kitchen bench to release the air bubbles. *6
- Place and bake it in a water bath in the preheated oven. Turn the oven temperature down to 320°F (160°C) and bake for 20 minutes. *7
- After baking on 320°F (160°C) for 20 minutes, turn the temperature down to 284°F (140 °C) and bake for a further 55 minutes. (it took about 20 minutes at my oven temperature to get down to 284°F (140°C)
- Turn the oven off after its baked in 284°F (140°C) for 55 minutes. Leave the cake inside the oven for a further 30 minutes to cool the cake down gradually.
- After leaving the cake for 30 minutes with the oven turned off, remove the water bath and leave the oven door slightly open and let it continue to cool down gradually.
- Place the cheesecake (still intact in the round tin) in an airtight container and refrigerate overnight. *8
- Remove the cake from the tin.
- Glaze the top of the cheesecake with apricot jam glaze with a brush and slice it with a sharp and warm knife to serve.


Hi Shihoko, thanks for this recipe. The instructions say beat egg whites to soft peaks but when I look at your youtube video it says beat to stiff peaks, can you please advise advise? Thanks
Hi Karen, soft peaks 😀
Hi!
Just to clarify: should the cake bake 55 more minutes AFTER it’s cooled to 140? Or 20 minutes of cooling to 140 and then 35 more at 140?
Hi Dnìël, Thank you for clarifying, after you turn the oven down to 140, bake 55 minutes. My oven took 20 minutes down to 140, and then 35 more at 140, all together 55 minutes. So 20 minutes of cooling to 140 and then 35 more at 140, but 20 minutes is depends on each oven.
Hi Shihoko, Thanks for this Japanese Cheesecake recipe. The method of not warming the cream cheese over a pot of boiling water sounds good as most recipes which I have come across required this step and which proved to be watery for me all the time. Also keeping the egg whites in the fridge before whipping is new to me. Will most definitely try out this recipe.
Hello Shihoko,
The recipe sounds lovely and I’d love to make it soon. Something I noticed though, is that cream of tartar isn’t as usual around here as it may be around Australia or Japan. Could you just replace it with normal baking powder? When I looked up the differences, it seemed that cream of tartar has the same use.
Love, Mai
Hi Mai, you can replace it with 1 teaspoon of lemon juice for every 1/2 teaspoon of cream of tartar.
This is exactly what we were looking for. Thank you!
Can not wait to eat it.
Hi Norma, I am glad that you found what you were looking for on my blog 😀
Do we have to let it cool over night or if we let it cool for a few hours would that be okay too ?
Hi Jessica, a few hours would be okay but leaving them in fridge for overnight make it perfect.
This cake was absolutely delicious! The texture was cloud-like and dreamy, just like the souffle cheesecake that I have had from Asian bakeries in the past. Thank you so much for sharing this amazing recipe!
Even with not being able to measure out the ingredients perfectly, due to inadequate equipment, and our lack of Celsius knowledge/ marks on my oven here in the States, this recipe came out flawless. I did add extra sugar though.
I have not enjoyed baking since somewhere around 2017 when I left my position as a pastry chef to take on my new career as a organic farmer. So thanks for putting up a recipe that reminded me that I still do love too bake
Ohhh Thank you Terrence, I love baking too!
I purchased an iron brand to make a little stamp on top of my Japanese cheesecake after I bake it. Do you recommend I impress the stamp on top of the cake before or after it has cooled?
Hi Sean, I am not sure but I think either is fine.
Hi there. Thank you for your recipe! I would like to ask if you have any suggestions on the baking temperature and time if I want to reduce this to a mini cupcake sized cheese cake? Thank you!
Hi. How do I adjust the ingredients for 6 inch round pan?
Hi Valerie, you need to calculate the volume of your pan. I have received many similar questions so I will post something like how to adjust ingredients amount according to your pan in the future.
After baking, the consistency of the cake is somewhat uneven. The top 80% of the cake seems well cooked and fluffy/jiggly, but the bottom is a more eggy and firmer texture. Any tips?
Thank you!!
Hi Jonathan, probably the cheesecake mixture could have been separated. To avoid the separation, you need to bring all ingredients to room temperature before you start to mix the ingredients.
I dont have a 7inch baking pan cam I use the 6inch one but ithe height is 4 inch taller?
My mom use to make a cheese cake very familiar to this and it reminds me of my child hood. Thank you for this recipe, mine turned out great and it was so fluffy and delicious!
You are welcome Marie 😀
Hello,
I would love to try this cheesecake. I just have one question, do you use cake flour or plain (all purpose) flour? As on the recipe you stated plain flour but on the top (article), you stated cake flour.
Would you clarify? As Cake flour already contain cornstarch.
Thank you.
Hi Novi, in Australia we can buy plain but yes use cake flour 😀
Thank you very much for this recipe, i have tried and the result is satisfying. The cheesecake comes out slightly cracked in the middle, but the texture is very soft and tastes just right.
Thank you Dval 😀
Hi Shihoko
If I’m using a 6 inch tin what’s the temperature I should reduce?
In terms of the ingredients how much should I cut?
Thanks
I wasn’t game to make this recipe today even though I went and bought all the ingredients. I carefully read through your instructions before the recipe where the list of ingredients clearly states 6 eggs. The recipe only calls for 4 eggs. I went back and looked at the photos – there are more than 4 egg yolks photographed. I then read through the reviews and couldn’t find anyone who had asked the question. Is the recipe for 4 or 6 eggs? Thank you.
Hi Andrea, Thank you for bringing my attention to the recipe error. It is 4 eggs. I will fix the recipe and post asap. Thank you again.