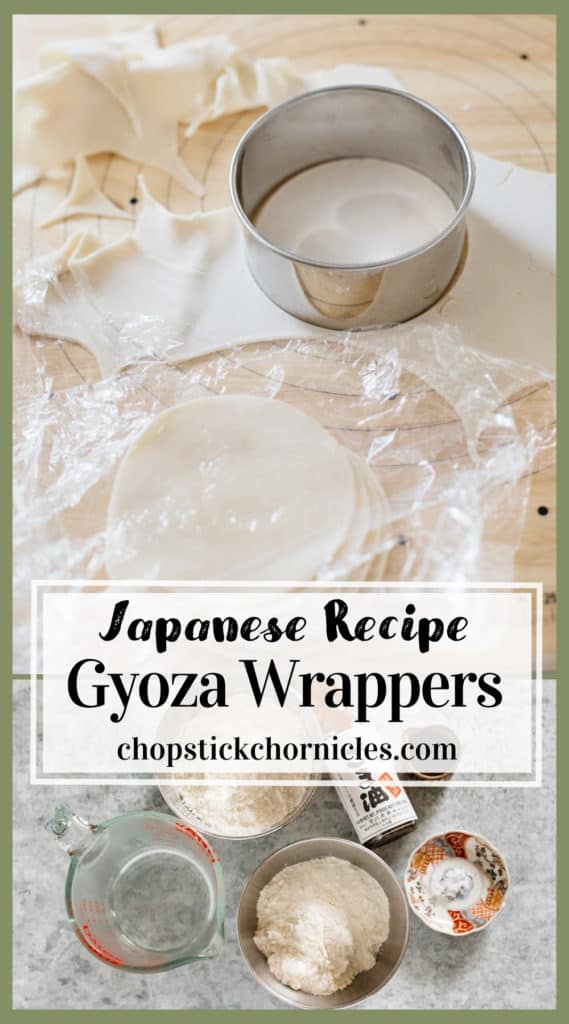
Have you ever thought about making your own homemade Japanese Gyoza wrappers? It only requires 3 ingredients and it is easier than you think. So let’s make Gyoza wrappers at home with my easy to follow step by step photo instructions!
What are Gyoza Wrappers?
Gyoza is delicious Japanese dumplings or potstickers. And Gyoza wrappers are a white pastry that wraps around the filling. They are made out of wheat flour, salt and oil. The Japanese gyoza wrapper is quite thin compared to the Chinese one and so finding Japanese gyoza wrappers from your local supermarkets can be difficult. Let’s make it at home!
What Ingredients are Required?
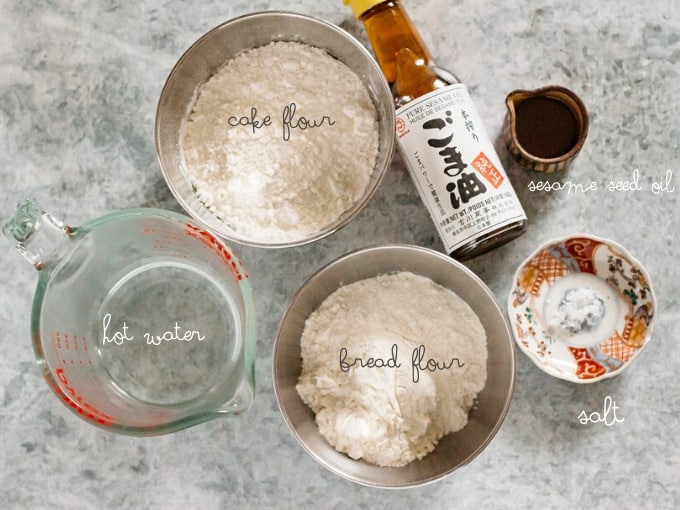
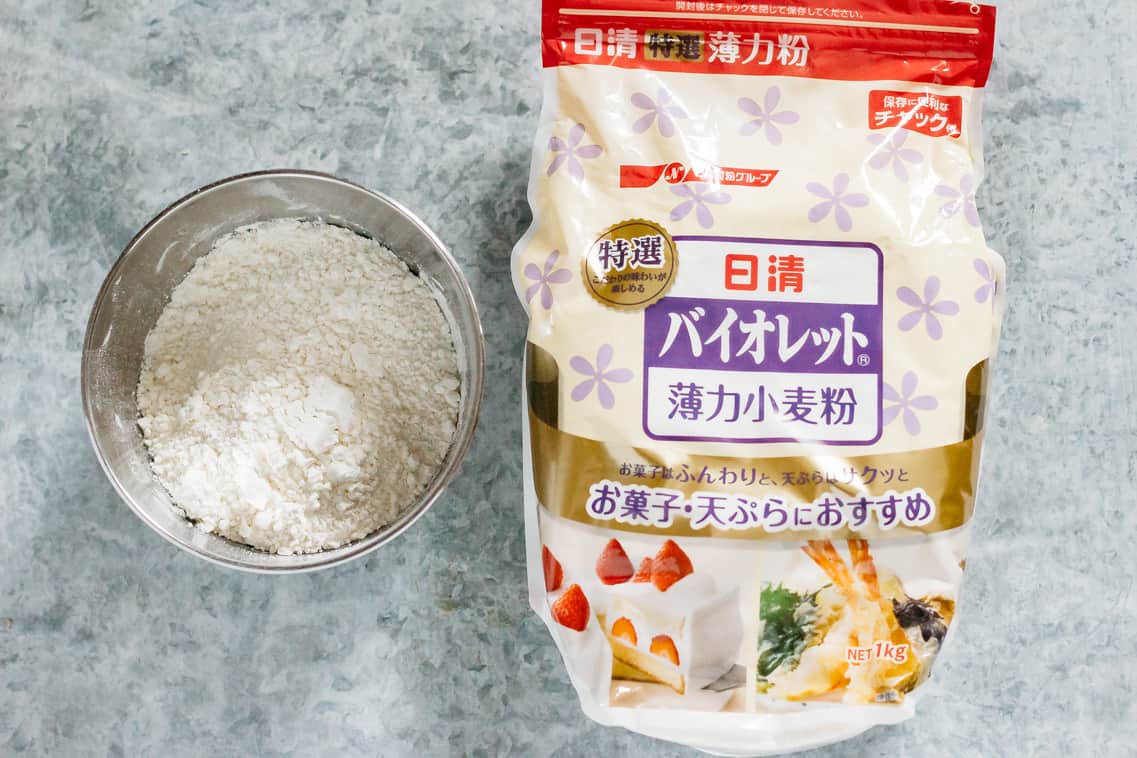
Basically, only 3 ingredients are required- flour, salt, and oil as well as water. You do not have to get special oriental ingredients which you can not buy from your local supermarket. I used Japanese brand flour just because I am more familiar with it but it’s not necessary.
Which flour to Use?
There are basically three types of flour that are generally used and readily available in Japan: Hakurikiko, Churikiko and Kyorikiko. All three words end in ‘riki (strength)’ and ‘-ko (flour)’. The difference is how much gluten it contains. Haku(thin)rikiko contains 7-9% gluten. Chu(middle)rikiko contains 10-12% gluten. Kyo(strong)rikiko contains 13-15% gluten.
Hakurikiko is equivalent to Cake/Pastry flour which is great for Japanese birthday cakes and cookies.
Churikiko is equivalent to All purpose flour which is great for gyoza wrappers and udon noodles
Kyorikiko is equivalent to Bread/Baker’s flour which is great for baking bread like Shokupan and Butamans.
So I mixed cake flour and bakers flour to make all-purpose flour. If you have all-purpose flour, just use it.

Size of Gyoza Wrappers
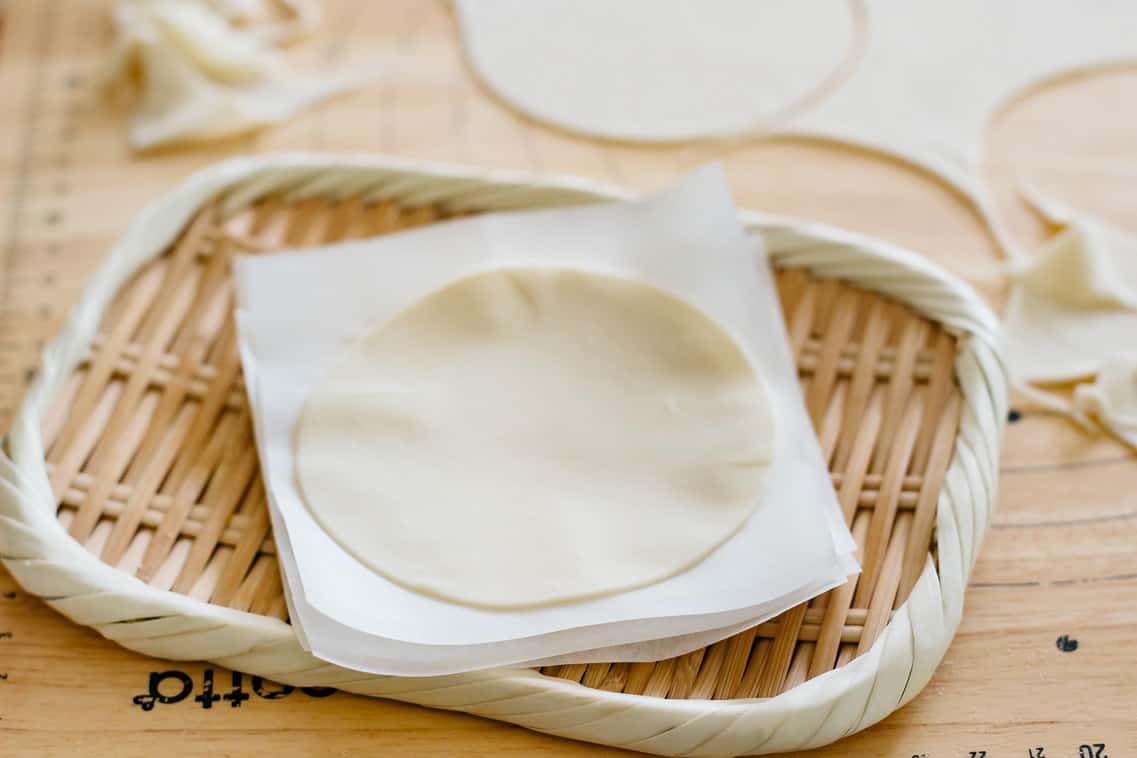
How big and thin are gyoza wrappers? Japanese Gyoza wrappers are typically about 4 inches (10cm) across and 0.04 inch(1mm) thick.
2 Methods to Make Perfect & Unified Size Gyoza Wrappers.
There are a couple ways to make the round shaped wrappers:
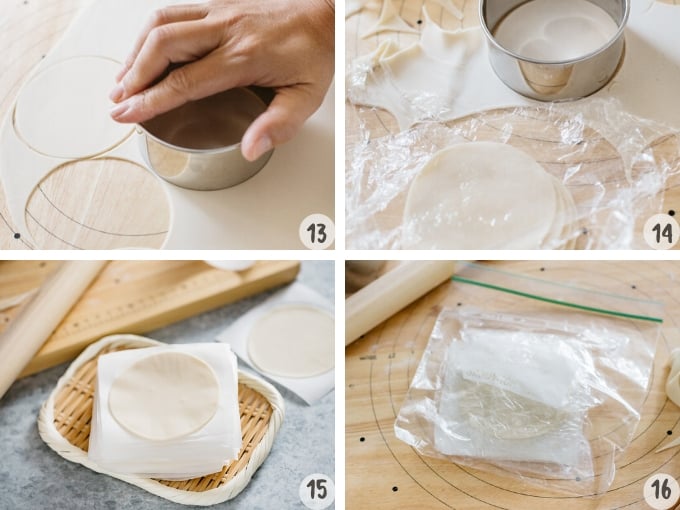
1 . Divide the dough into two, roll out one dough at a time to about 1-2mm (0.07inch) thickness. Cut out with an 11cm (4.3inch) round cookie cutter.
2. Divide dough into two. Roll to a cylinder shape (looking like a sausage) and cut about 2cm(0.78inch) each from the end. Roll the cuts into a small ball. Using a small rolling pin, roll out each ball to 1-2 mm thin round wrappers.
I personally prefer method 1. It is easier to make unified sized wrappers than with method 2. I think the second method requires more skill.
What Dishes do you Use it for?
FAQ
Q1 : Can you buy Gyoza Wrappers?
A: Yes. You can buy Gyoza Wrappers from supermarkets. I found the ready-made Gyoza Wrappers are not like what I used to buy in Japan. They are quite thick. If you want a Japanese one, you can get them from Japanese grocery stores. You will find it in their freezer section.
Q2 : How to store Gyoza Wrappers?
A : They will keep for 3-4 days in the fridge. If you have leftover and not going to use it in 3-4 days, you can place parchment sheet in between the wrappers and then wrap them with cling wrap. Then place it in a ziplock bag and freeze. It will last about a month. Defrost naturally in the fridge to re-use.
Q3 : How to thaw Gyoza Wrappers
A : Defrost naturally in the fridge to thaw. Take them out of freezer and leave it in fridge before hand.
Stay Connected
If you liked my recipe for homemade Japanese gyoza wrappers, please rate it and leave a comment below. Also, don’t forget to follow me on Youtube, Pinterest, Facebook , Twitter and Instagram to keep up to date with all the latest happenings on Chopstick Chronicles. Don’t forget to use the hashtag #ChopstickChronicles so I can see your wonderful creations!


Gyoza wrappers 餃子の皮
Ingredients
- 100 g Plain flour *1 1 cup
- 100 g Bread flour 1 cup
- 100 ml boiling hot water 1/3 cup + 1 tbsp + 1 tsp
- 1 pinch of salt
- 1 tbsp Sesame seed oil *2
Instructions
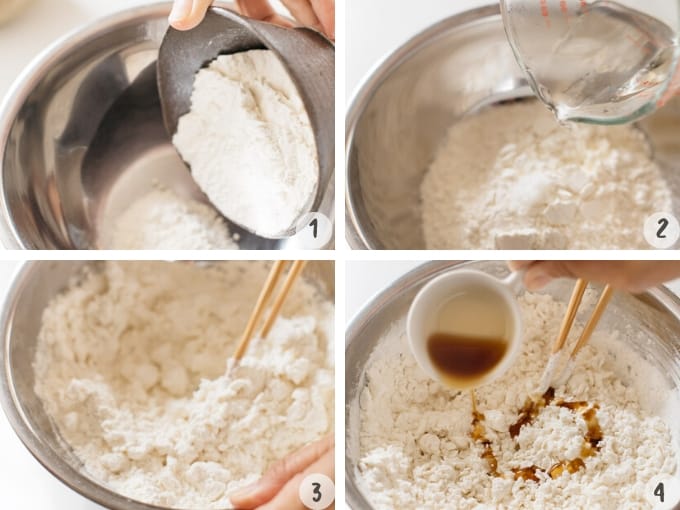
- Place plain flour and bread flour in a large mixing bowl and stir.
- Add boiling hot water and combine them all together with a pair of chopsticks to make like crumble.
- Add sesame seed oil and continue to mix them all together.
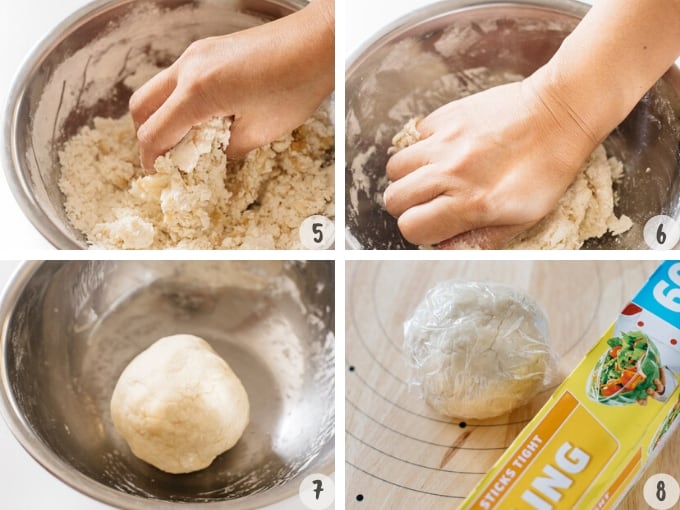
- When it becomes crumbled, use your hands to squash them together to make a ball.
- Wrap with cling wrap and rest for about 30 minutes.
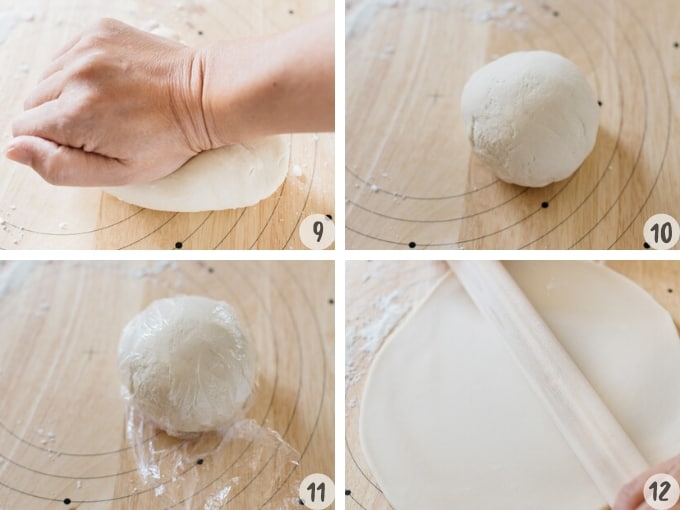
- Remove the cling wrap and knead the dough for a few minutes on a lightly floured bench top. When the dough surface becomes smooth, cover with cling wrap again and rest it for further 30 minutes.
- Divide the dough into two equal amounts. Roll out flat on a lightly floured surface to about 0.04 inch thick(1mm) with a rolling pin.
- Cut out the dough into a round shape using a 4 inch (11cm) diameter large cooking cutter.
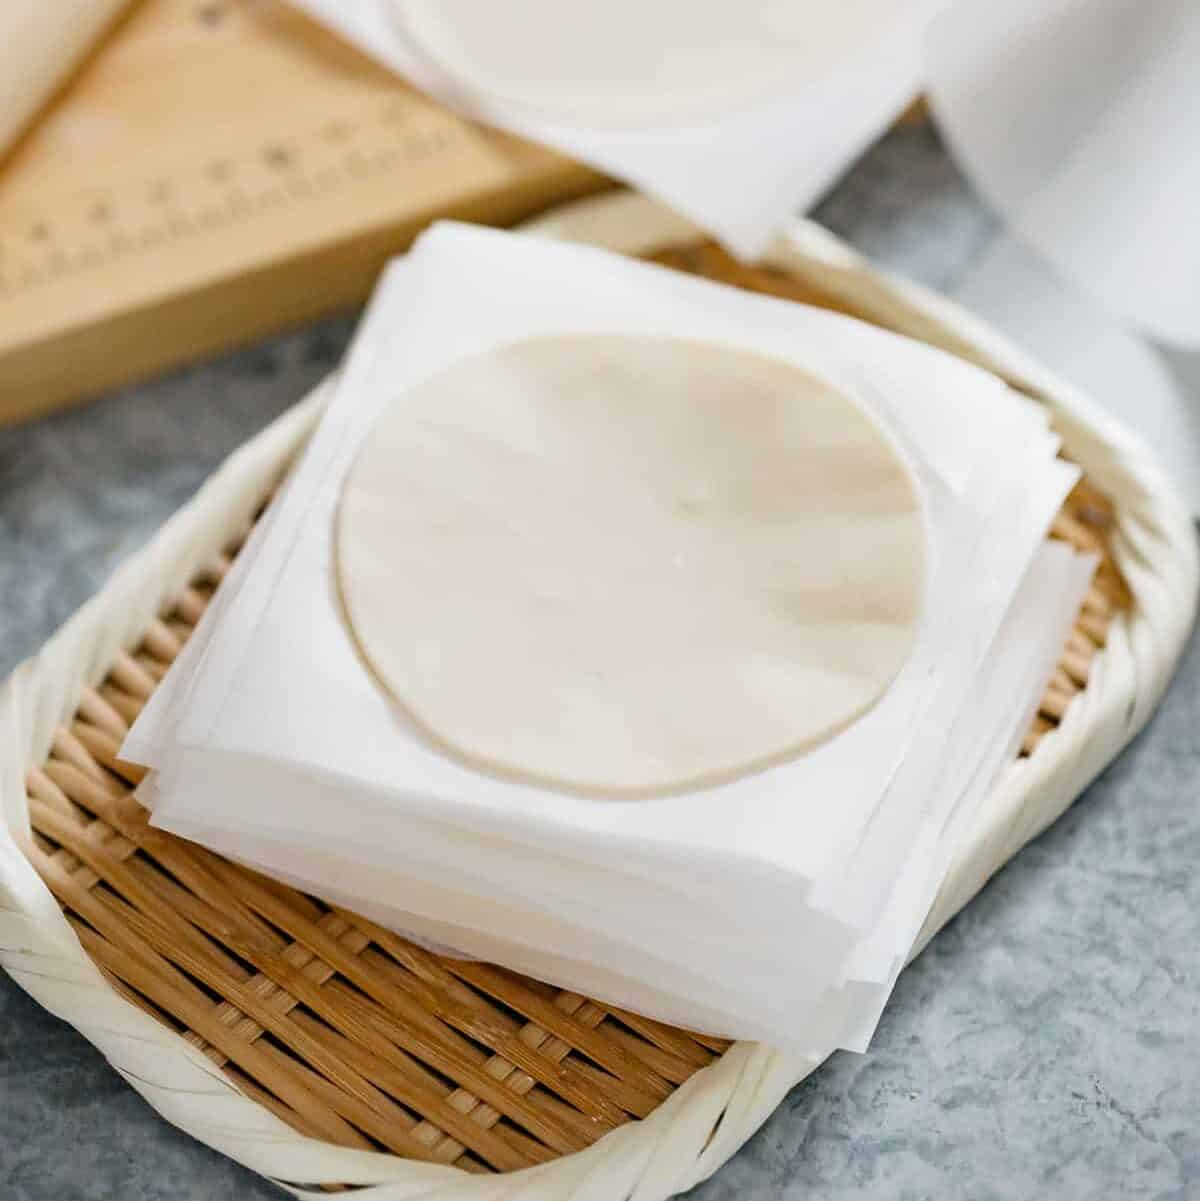
- Continue to cut with the cutter until all dough is cut out. It will make about 30 wrappers.
- Remove excess flour before using it to wrap the filling.


I love the idea of replacing preprocessed foods with at home prepared food. I follow your recipes and notes to make delicious pot stickers and stir fry usng an assortment of vegetables and tofu instead of meat. Also it is great to serve a variety of sauces for guests and family to enjoy! Thank you so much for sharing Shihoka Ura
You are welcome 😀 Scott, I am glad to know you entertained your family with delicious Japanese recipes!
I just made this for the first time, I’m also learning to make pasta for the first time as well. I felt the dough was a little too dry but a few spitzes of water helped. Rolling it out in our pasta machine worked well as we were able to rework it several times to get good consistency. On our Mercato machine 7 seemed like a decent thickness coming from no experience but the gyoza still formed well.
Wow wow wow. Thank you for this. It is perfect.
The more I make this the faster I get. It did take me around 2 hours first time but now I mix the dough before bed and leave it in the fridge. I use the kitchenaid pasta roller, first on 1 until it’s pliable than 3, 6 and finally 8 (the thinnest), no need to go through every number. 3,6 and 8 it’s one and done. So fast, so good. I got my timing down to 30 minutes + cooking time.
Some things I learned:
-> The recipe also works with toasted sesame seed oil. The toasted oil smells different but I could not taste any difference when it was done.
-> I was able to use a lower gluten flour (around 8,5%) without changing anything else. Great to know when it’s all we have. 😉
-> When low on sesame seed oil, I used it only on the dough, cooking with olive oil (evoo) and the taste was great. A little less sesamey but as long as it’s on the dough that special taste will be there.
-> One recipe gets me 23 10cm gyozas. I made it multiple times and now I double the recipe. Everyone loves it too much!
Thank you again. This recipe is a sure keeper.
Thank you Melinda for lovely comment and 5 star rating:D
A dream to work with. So good. I used the kitchenaid pasta roller to the thinnest setting (8) and a 10cm round cookie cutter.
I was only able to get 23 rounds instead of the 30 with 11cm cutter from the recipe. So mine were thicker than intended. But they were really good.
Made my own filling but used the method from your gyoza recipe, pan frying with sesame oil on a iron skillet than steaming it.
It was my first time making gyoza and from start to finish (filling was ready on the fridge) it took me 2h30min.
Thank you for an amazing recipe!
Hi Gleeny, Thank you for making Gyoza with my recipes. I am sure spending 2 hours 30 minutes were worth your effort. 😀
great recipe i will try it soon.
Thank you very much! I am going to try this recipe and make the wrappers tonight. Hope that with your help I will not need to buy the wrappers anymore. Your recipes are delicious and fail-proof:)
Thank you Alisa 😀
This dough is a dream to roll. I don’t have the skill or patience to hand roll the skins, so I use my pasta roller. Other recipes were very difficult to work with and stuck to the roller.I was afraid to go to 1mm so mine were 1.25 mm. Although not as delicate as the thinner, they were quite easy to work with. Since the dough was so easy to work with, next time I’ll go for the thinner setting. I was a little worried as the dough had a strong aroma of sesame oil, but after cooking the flavor was just right. Thank you so much for this great recipe. I wouldn’t even bother to make them, but where I love we can’t get them in the stores unless we take a long trip into Nashville to and Asian Market. But having tried these I think I would rather make them then buy them