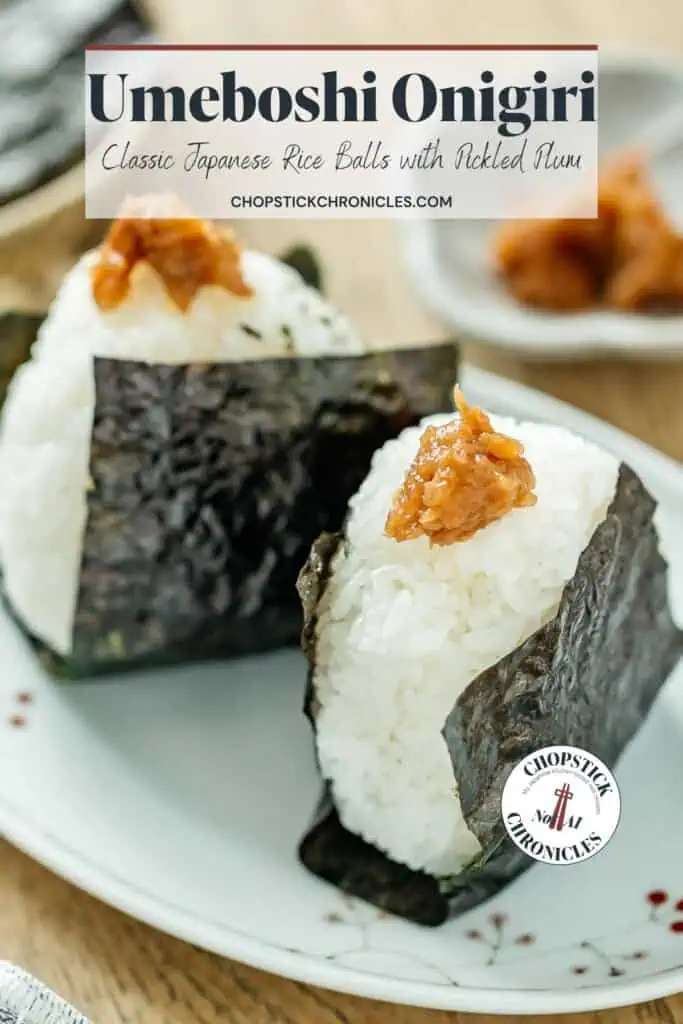
Umeboshi onigiri is one of the most classic Japanese rice balls. Plain onigiri with salty, sour pickled plums tucked inside makes for a simple but delicious combination. Growing up in Japan, umeboshi was a standard onigiri filling I often saw in Bento lunch boxes, convenience stores, and homemade meals. The umeboshi adds a perfect little touch of flavor without being overpowering. I often make this simple recipe at home because it is easy, satisfying, and brings back the familiar taste of Japanese home cooking.
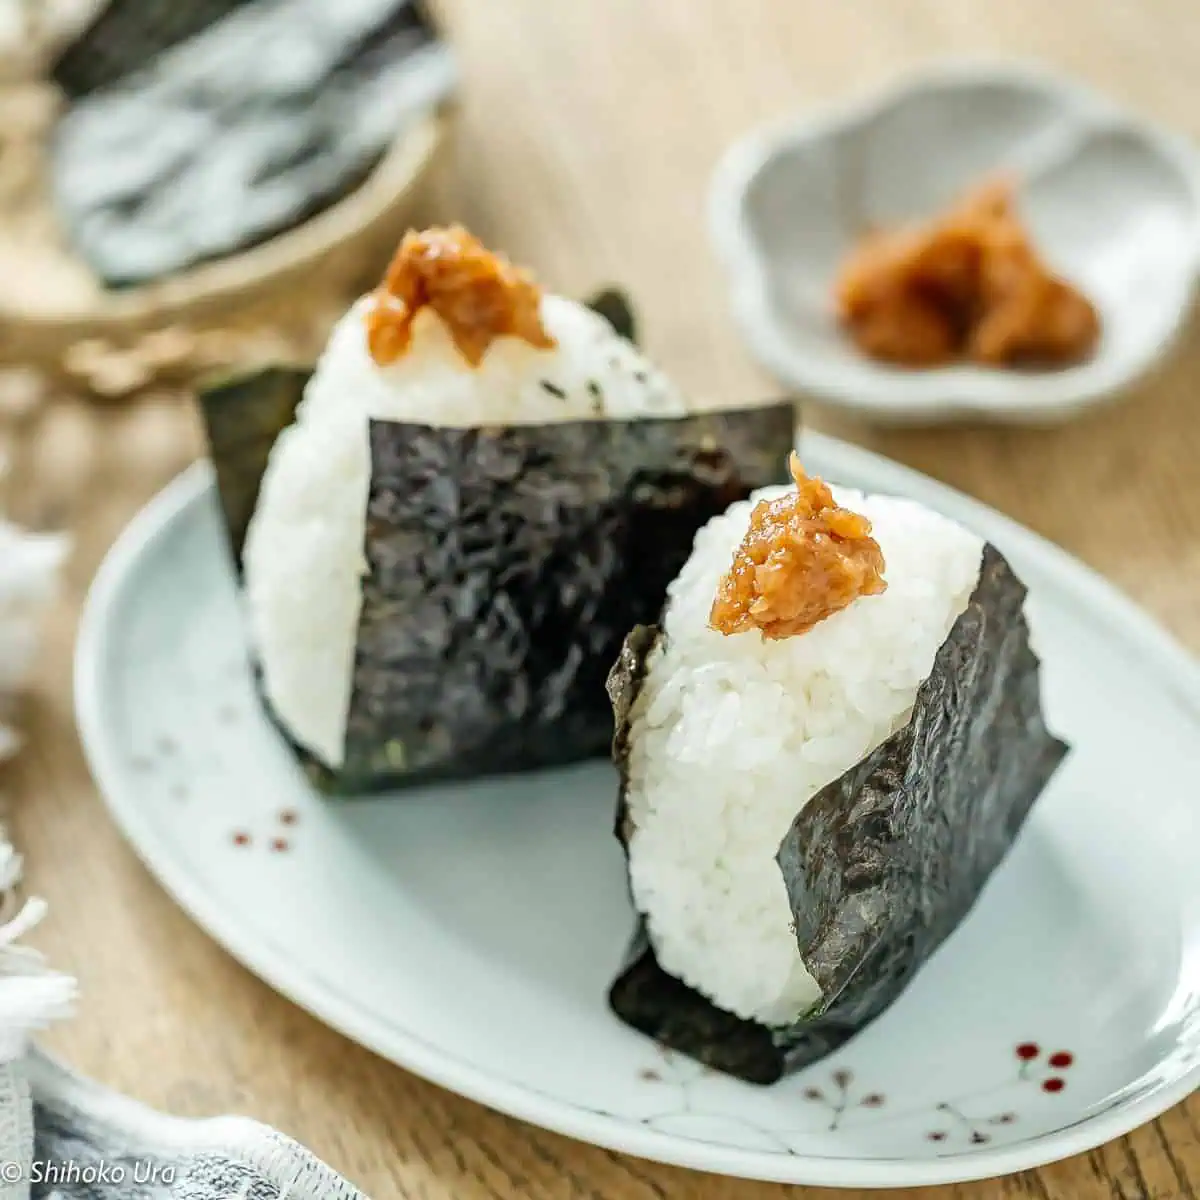
Table of contents
- What is Umeboshi Onigiri?
- Why Umeboshi is a Traditional Onigiri Filling
- What Does Umeboshi Onigiri Taste Like?
- Why You Will Love This Recipe
- Ingredients You Need
- How Much Umeboshi Should You Use?
- How to Make Umeboshi Onigiri
- Variations of Umeboshi Onigiri
- What to Serve with Umeboshi Onigiri
- Storage and Food Safety
What is Umeboshi Onigiri?
Umeboshi onigiri is one of the most traditional types of Japanese rice balls made from plain steamed rice filled with pickled plum. Onigiri is made by shaping cooked short-grain rice by hand or with an onigiri mold, usually into a triangle or round shape. Umeboshi is made from Japanese ume fruit, which is often called a Japanese plum in English, but ume is different from Western plums. It has a distinctive salty, sour, and slightly fruity flavor that goes especially well with plain rice.
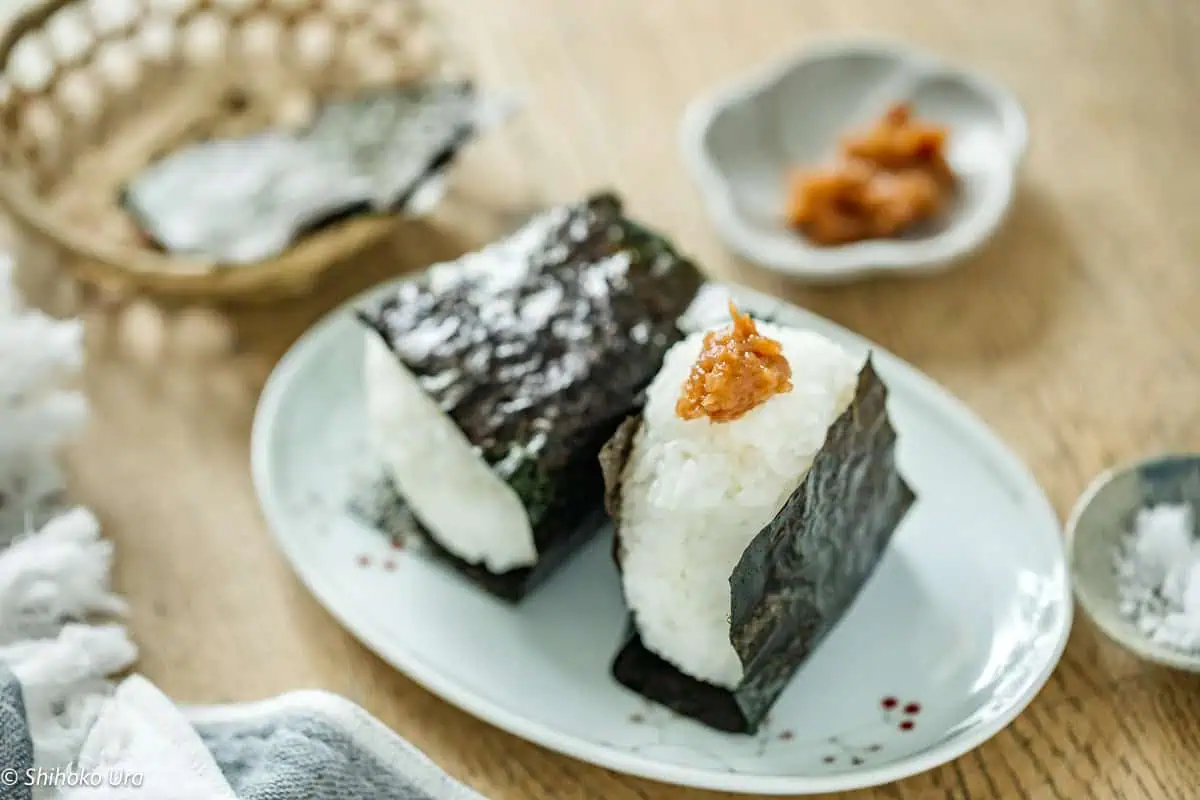
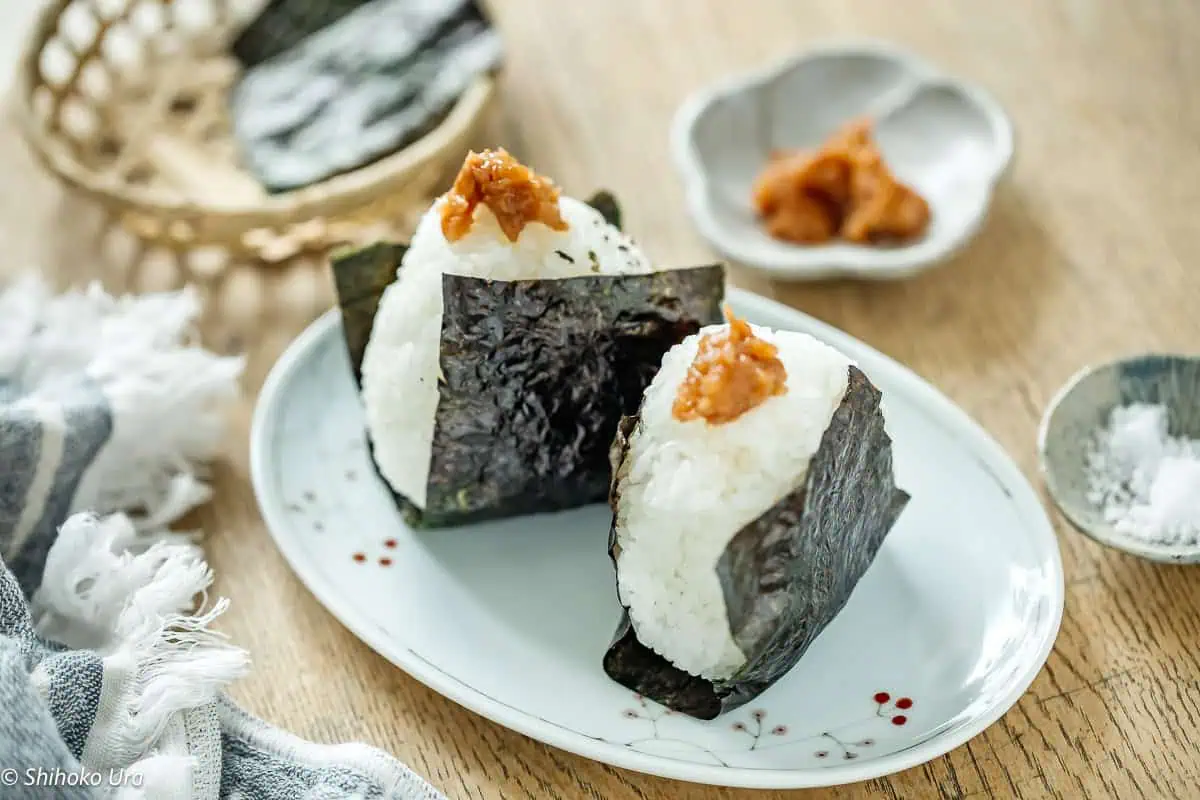
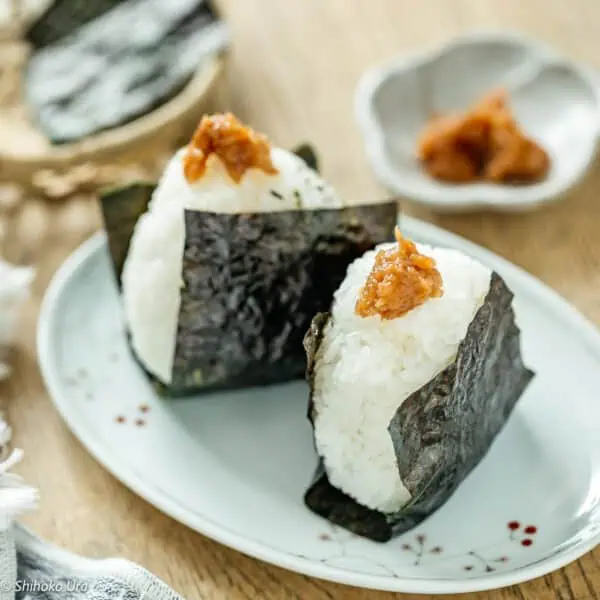
The umeboshi can be placed in the center of the rice as a filling, mashed into umeboshi paste, or mixed through the rice for a more even flavor. The finished onigiri can also be wrapped with a sheet of nori for an extra savory taste and texture.
Why Umeboshi is a Traditional Onigiri Filling
Umeboshi has been eaten with rice in Japan for generations. Its strong salty and sour flavor makes it a natural filling for Japanese rice balls. Growing up in Japan, umeboshi was also a familiar sight in bento. A classic example is Hinomaru bento, which is plain white rice topped with a single red umeboshi in the center, resembling the Japanese flag. Because umeboshi has such an intense flavor, you only need a small amount for each umeboshi onigiri. One umeboshi is often enough to add plenty of flavor to an entire rice ball.
What Does Umeboshi Onigiri Taste Like?
The flavor of umeboshi onigiri all comes from the the sharp, salty, and sour flavor of the umeboshi in the center. If you wrap the rice ball with nori, it will add a savory taste that balances the tangy ume fruit. The flavor can vary quite a lot depending on the type of umeboshi you use. Traditional shiozuke umeboshi, made mainly with ume and sea salt, is intensely salty and sour, while honey-seasoned umeboshi is milder with a subtle sweetness. For onigiri, I prefer traditional shiozuke umeboshi because its strong flavor goes well with the plain rice, and you only need a small amount to season each bite.
Why You Will Love This Recipe
- Simple ingredients : You only need a few ingredients to make umeboshi onigiri, including short-grain rice, umeboshi, and a pinch of salt.
- Plenty of flavor : Salty and sour umeboshi gives these Japanese rice balls a bold flavor without complicated seasonings.
- Great for lunch or bento : They are easy to prepare ahead and add to a Japanese-style lunch or bento.
- Easy to take with you : Onigiri is portable, easy to eat, and convenient for picnics and packed lunches.
- A taste of Japanese home cooking : This simple recipe is an easy way to make one of Japan’s classic everyday foods at home.
Ingredients You Need
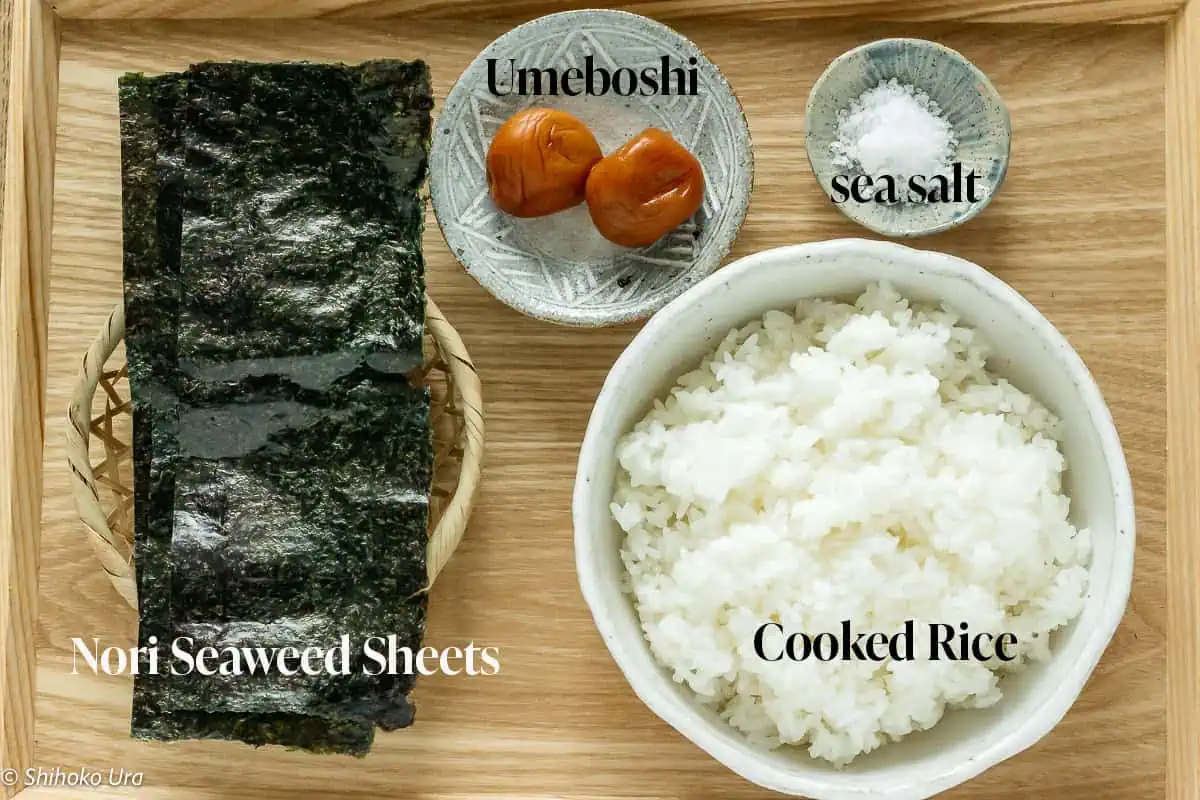
You only need a few simple Japanese ingredients to make umeboshi onigiri, but choosing the right rice and umeboshi makes a big difference to the texture and flavor.
Japanese Short-Grain Rice
Japanese short-grain rice is essential for making onigiri because the grains become slightly sticky when cooked which helps the rice ball hold its shape without being pressed too firmly. Long-grain rice (like basmati) will not work because it is less sticky and will not hold shape. For the best texture, cook the rice until it is tender and moist but not mushy. Shape the onigiri while the rice is still warm enough to hold together easily.
Umeboshi
You can use whole umeboshi or umeboshi paste for the filling. If using whole umeboshi, remove the pit and either leave the flesh in pieces or mash it before adding it to the rice. The saltiness of umeboshi varies considerably between products, so taste yours before deciding how much to use. A very salty umeboshi needs much less filling than a mild, sweeter variety.
Umeboshi paste is convenient when making several onigiri at once. If you use store-bought umeboshi paste, check the ingredient list first. Some products contain added sugar, sweeteners, dashi, or other seasonings that can change the saltiness and overall flavor.
Sea Salt
Rub a small pinch of salt over damp hands to lightly season the outside of the rice as you shape it. I prefer sea salt because its clean salty taste works well with the simple ingredients in onigiri. If your umeboshi is particularly salty, reduce the amount of salt on your hands or leave it out altogether.
Nori
Nori is optional, but I love the savory flavor it adds to Japanese rice balls. For crisp nori, wrap it around the onigiri just before serving. If you prefer the softer texture commonly found on homemade onigiri and bento, wrap the nori around the rice ahead of time so it absorbs some moisture from the rice and softens.
How Much Umeboshi Should You Use?
For one umeboshi onigiri, I use about 120 g (4 oz) of cooked short-grain rice with 8 to 10 g (0.3 oz) of umeboshi. If you are using umeboshi paste, start with about 1½ teaspoons (7 to 8 g) per rice ball.
I tested different amounts of umeboshi with 120 g of cooked rice. Around 5 g was quite mild, while 15 g made the salty and sour flavor overpower the rice. For me, 8 to 10 g gave the best balance, with enough umeboshi in each bite without masking the natural sweetness of the rice.
Keep in mind that umeboshi varies greatly in saltiness. Traditional salt-cured umeboshi can contain around 15 to 20% salt, so you may only need 5 to 8 g. Sweeter honey-seasoned plums, which are often around 5 to 10% salt, can be used more generously. Taste your umeboshi first and adjust the filling and the pinch of salt used for shaping to suit its flavor.

How to Make Umeboshi Onigiri
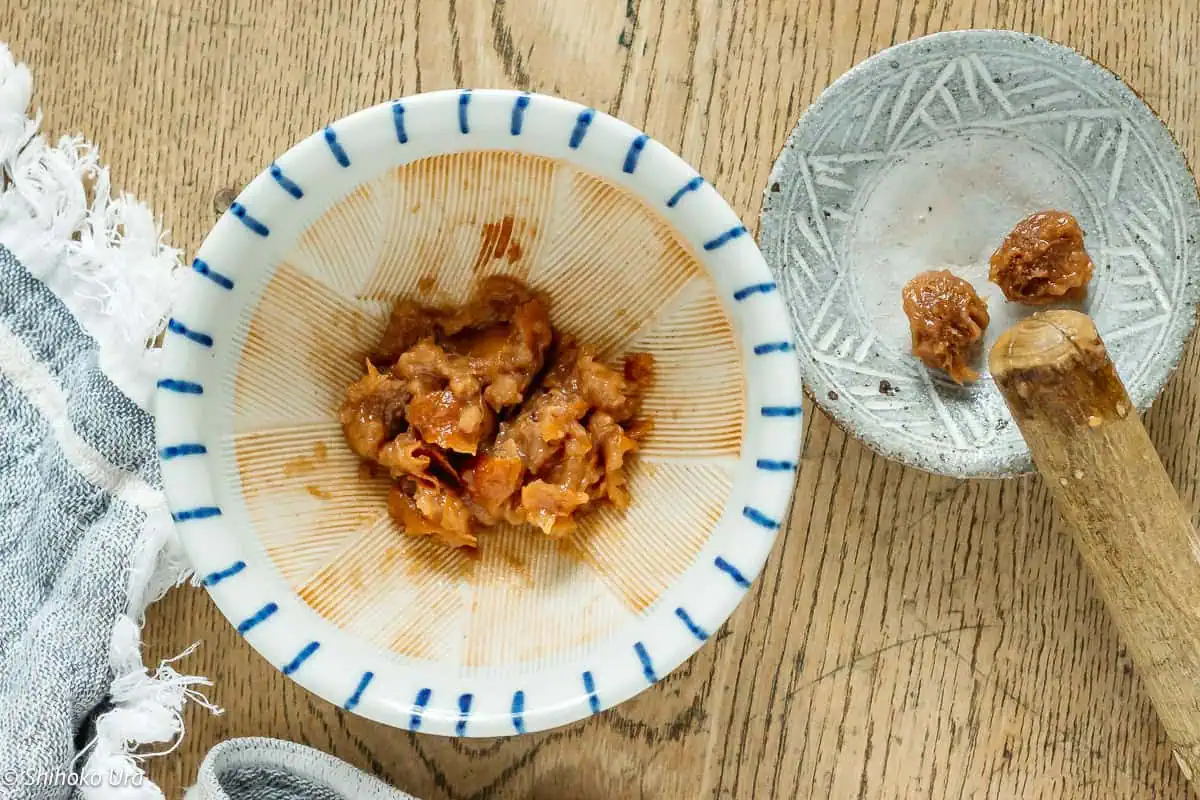
- Prepare the Umeboshi : Remove the stone from the umeboshi, then roughly chop or mash the flesh with a fork or the back of a spoon. I prefer to leave a few small pieces rather than making it completely smooth. This gives you little bursts of salty and sour flavor as you eat.

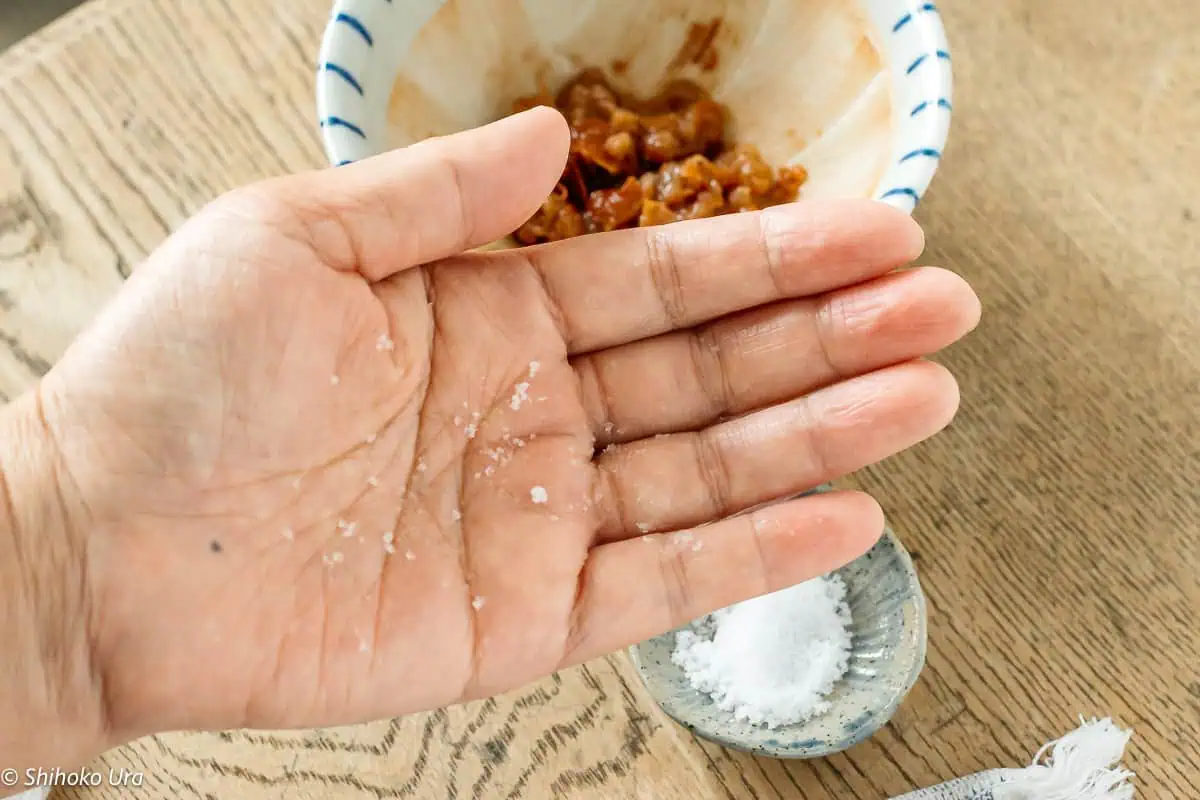
- Prepare Your Hands : Wet both hands lightly with water to prevent the rice from sticking. Place a pinch of salt in one palm, then rub your hands together to spread it evenly. You only need a light coating, especially if your umeboshi is quite salty.
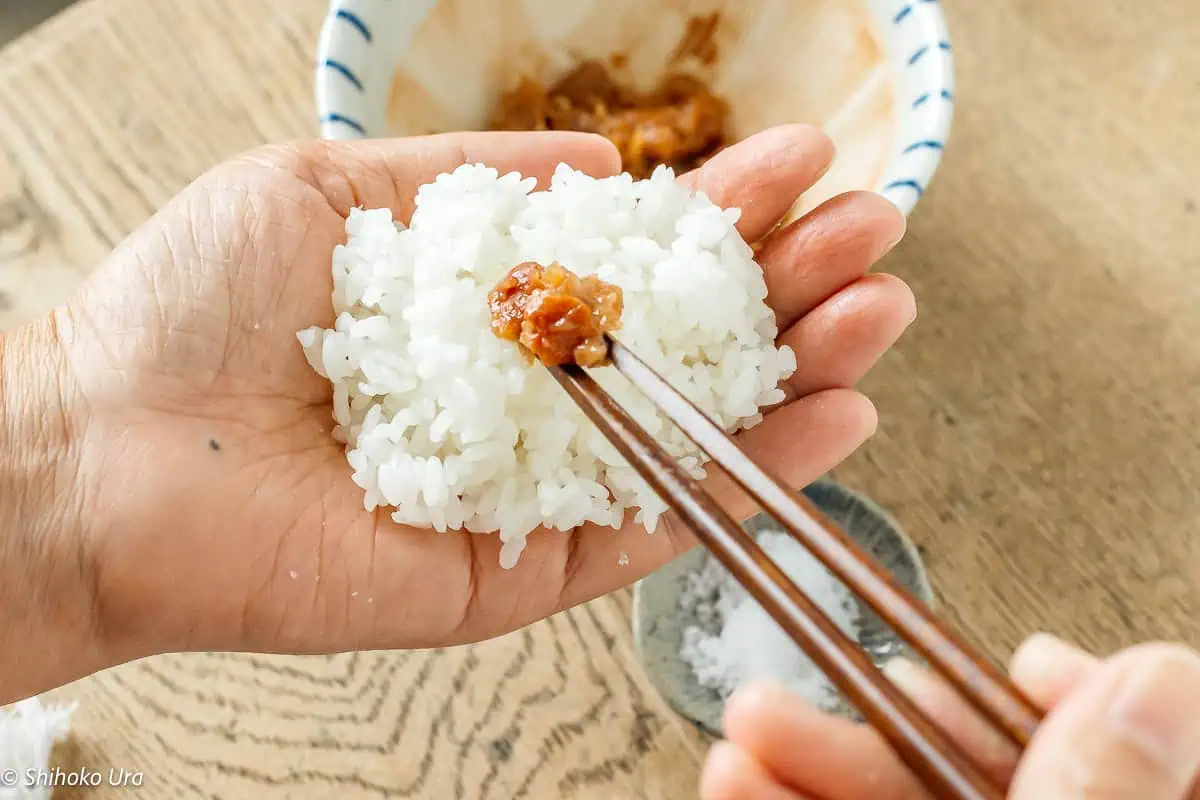
- Add the Rice and Filling : Place half of the warm cooked short-grain rice in your palm and gently flatten it. Make a small indentation in the center and add the umeboshi filling. Cover it with the remaining rice, making sure the filling stays enclosed in the center.
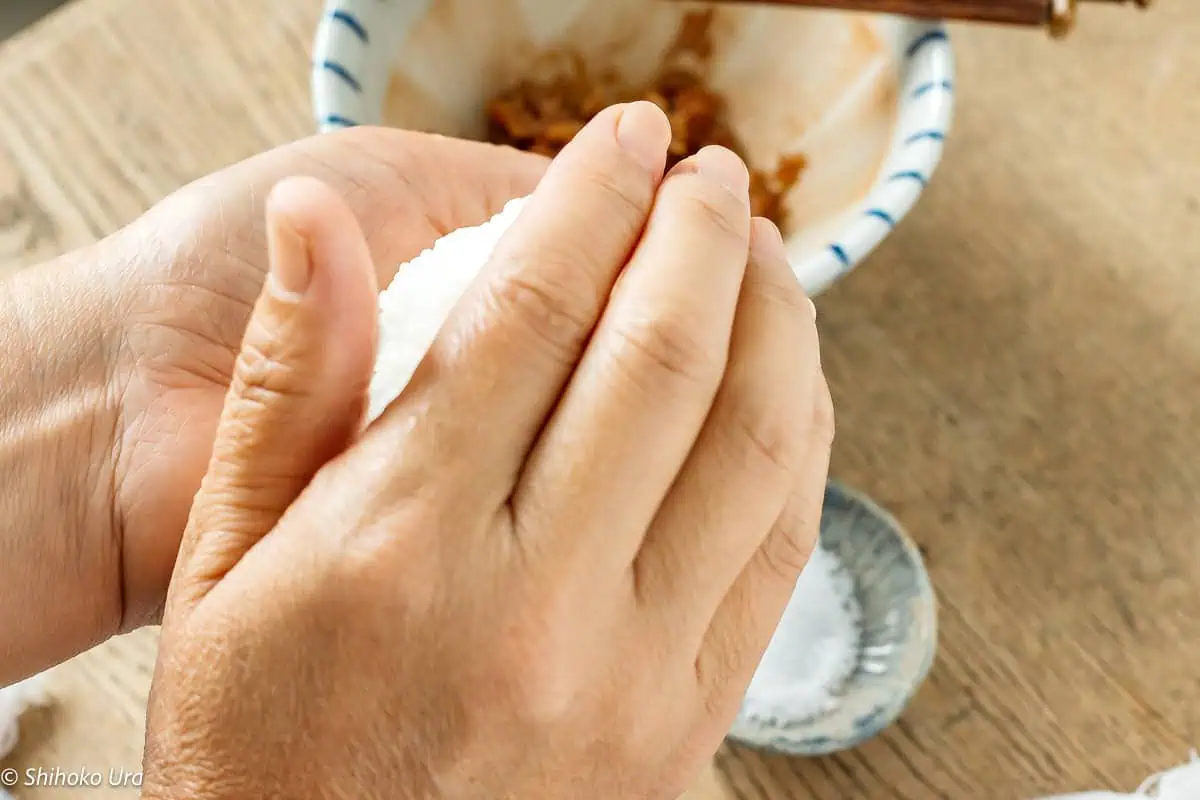
- Shape the Onigiri : Cup the rice gently between your hands and shape it into a triangle. Use just enough pressure for the grains to hold together, rather than squeezing or packing the rice tightly. I gently press, turn, and press the onigiri a few times until it holds its shape. This keeps the inside soft and fluffy instead of dense and compressed.
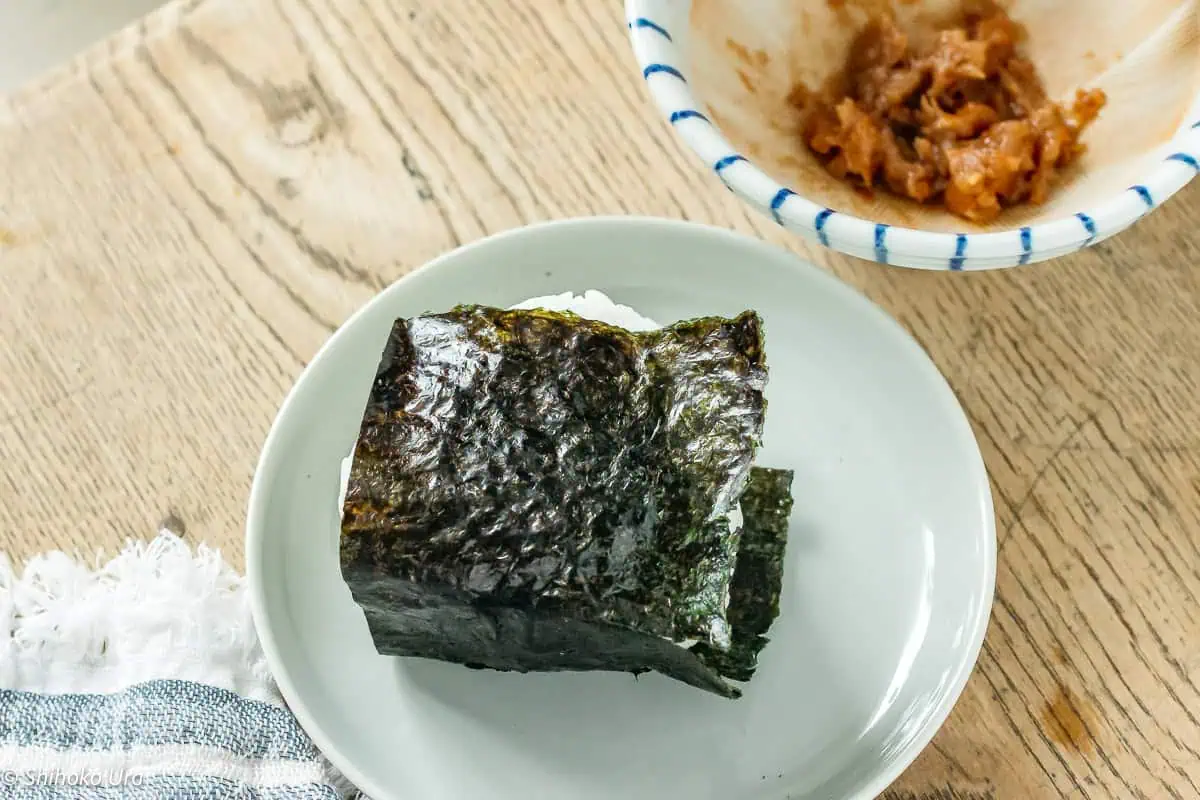
- Add Nori : Wrap a strip or sheet of nori around the finished umeboshi onigiri. If you like crisp nori, add it just before eating. For the softer nori often found on homemade onigiri and in bento, wrap it around the rice while preparing your meal so it has time to soften.
Shiho’s Kitchen Tips
Shape the rice while it is warm
Warm short-grain rice sticks together more easily and gives the onigiri a softer texture. Let freshly cooked rice cool just enough that you can comfortably handle it with your hands.
Keep your hands damp, not wet
Lightly wet your hands before shaping so the rice does not stick to your palm. Too much water can make the surface of the Japanese rice balls soggy.
Shape gently
The secret to good onigiri is not squeezing the rice too tightly. I cup one hand into a gentle triangle and use the other hand to lightly press the rice, turning it about 3 to 4 times until it holds its shape. This keeps the grains together while leaving the inside soft and fluffy.
Adjust the salt
When using a particularly salty umeboshi, use only a tiny pinch of salt on your hands or skip it altogether. You want the umeboshi to season the rice without making the finished onigiri overly salty.
Keep the filling in the center
Make a small indentation in the rice for the umeboshi, then completely cover it before shaping. This helps prevent the filling from leaking out through the sides of your onigiri.
Variations of Umeboshi Onigiri
Once you have mastered the classic umeboshi onigiri, try these simple variations to change the flavor and texture.
- Umeboshi and shiso : Add finely sliced green shiso leaves to the umeboshi filling for a fresh, aromatic flavor.
- Umeboshi and sesame seeds : Mix toasted sesame seeds into the short-grain rice for a subtle nutty taste and a little extra texture.
- Mix the umeboshi into the rice : Instead of placing the filling in the center, chop or mash the umeboshi and gently mix it through the cooked rice. This gives every bite an even salty and sour flavor.
- Try Hachimitsu Ume(honey umeboshi) : If traditional umeboshi is too salty or sour for you, use honey-seasoned umeboshi. It has a milder, slightly sweeter flavor that is a good introduction to umeboshi.
What to Serve with Umeboshi Onigiri
Umeboshi onigiri is delicious on its own, but I usually serve it with a few simple Japanese side dishes to make a complete meal. For an easy lunch, serve with a warm bowl of miso soup, along with tamagoyaki and Japanese pickles. The mild sweetness of tamagoyaki is especially good with the salty and sour umeboshi.
For a more filling meal, add karaage or grilled salmon with a few simple bento side dishes. This combination gives you rice, a savory main dish, and small sides with different flavors and textures, much like an everyday Japanese lunch or bento.

Storage and Food Safety
Umeboshi onigiri is best eaten freshly made, when the short-grain rice is soft and tender. If you need to store it, let the onigiri cool then wrap each one tightly, and refrigerate for up to 24 hours. Refrigeration makes Japanese rice firm and dry because the starch changes as it cools. To soften it again microwave the onigiri until the rice is warmed through and soft again. Let it cool to a comfortable eating temperature before serving. Do not put the nori before storing in the fridge; only add after reheating.
For longer storage, I prefer freezing. Wrap each cooled onigiri tightly, place in an airtight freezer container or bag, and freeze for up to 1 month for the best texture. Reheat from frozen in the microwave until warm throughout. Always freeze onigiri without nori, then add fresh nori after reheating so it does not become wet and chewy.
For food safety, avoid leaving rice at room temperature for long periods. Cool and store leftover onigiri promptly, particularly during hot and humid weather.



Umeboshi Onigiri(Riceballs with Pickled Plum) 梅干しのおにぎり
Ingredients
- 180 g uncooked rice *1
- 20 g umeboshi *2
- ½ tsp sea salt *3
- 1 sheet nori (seaweed sheet) *4
Instructions
- Rinse and cook the short-grain rice according to your usual method.
- Once cooked, gently fluff the rice and let it cool just enough to handle safely. Keep it warm because warm rice is easier to shape.
- Remove the stones of the umeboshi and roughly mash the umeboshi flesh. *5
- Weigh the cooked rice and divide it into 2 portions of approximately 120 g (4oz) each.
- Wet both hands lightly with water to prevent the rice from sticking.
- Place a pinch of salt in one palm, then rub your hands together to spread it evenly.
- Place half of the one onigiri portion(60g/2oz) in your palm and gently flatten it.
- Make a small indentation in the center and add the umeboshi filling.
- Cover it with the remaining rice, making sure the filling stays enclosed in the center.
- Cup the rice gently between your hands and shape it into a triangle.
- Use just enough pressure for the grains to hold together, rather than squeezing or packing the rice tightly. *6
- Wrap a strip or sheet of nori around the finished umeboshi onigiri. *7